
How to use media handlers
 |
Download: | media-handler-example.zip |
In Ozeki VoIP SIP SDK, using the MediaHandler is very simple, and since there is an enormous number of MediaHandler classes available in Ozeki VoIP SIP SDK, you can accomplish almost anything you wish. With the help of MediaHandler, we can share various multimedia content. You can use this not only in the case of calls but you can even build an arbitrary media application. For instance, by using Ozeki VoIP SIP SDK, you can build a video player, an audio player, even an audio recorder or a video recorder application.
Why do we need MediaHandlers in a VoIP Softphone?
Audio and video features such as microphones, speakers, MP3 playback, text-to-speech, webcams, and file recording are all handled by completely different APIs and devices. Without a common abstraction, wiring even a simple feature like "play an MP3 file through the speakers" would mean writing separate, device-specific code for every possible combination of source and destination. MediaHandlers solve this by giving every media source and target the same simple interface, so they can be freely mixed and connected regardless of what they represent.
What is a MediaHandler?
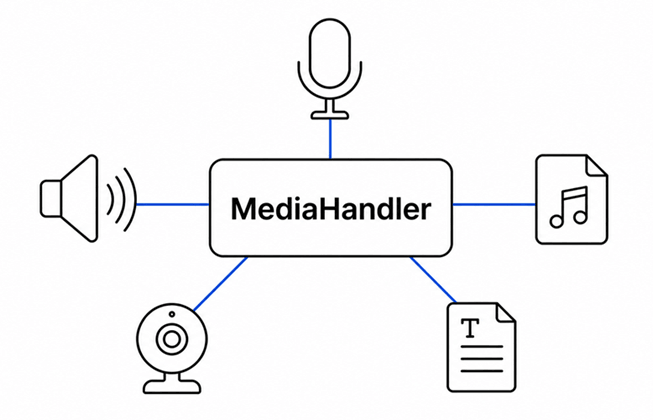
A MediaHandler is the base building block Ozeki VoIP SIP SDK uses to represent any source or destination of audio or video data, such as a Microphone, Speaker, MP3StreamPlayback, TextToSpeech engine, WebCamera, or file recorder. Each MediaHandler exposes the same simple Start, Stop, and Dispose behavior, regardless of what kind of media it actually handles. A MediaConnector is then used to connect one MediaHandler's output directly to another's input, which is what makes it possible to, for example, send a microphone's audio straight to a speaker or into a recording file.
How does it work?
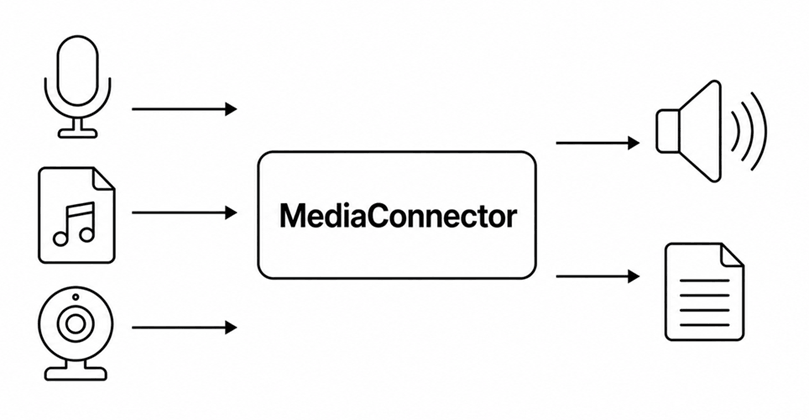
Every example in this tutorial follows the same underlying pattern. A source MediaHandler, such as a Microphone, an MP3StreamPlayback, a TextToSpeech engine, or a WebCamera, produces audio or video data. A MediaConnector object is then used to connect that source to one or more target MediaHandlers, such as a Speaker or a file recorder, which is what actually moves the data from one to the other. Once connected, calling Start on the source and target devices begins the flow of data, and calling Stop or Dispose ends it and releases the underlying resources.
Steps to follow
- Download and extract the example
- Build the example
- Debug and test the example
- Key source code
- Source code analysis
Download and extract the example
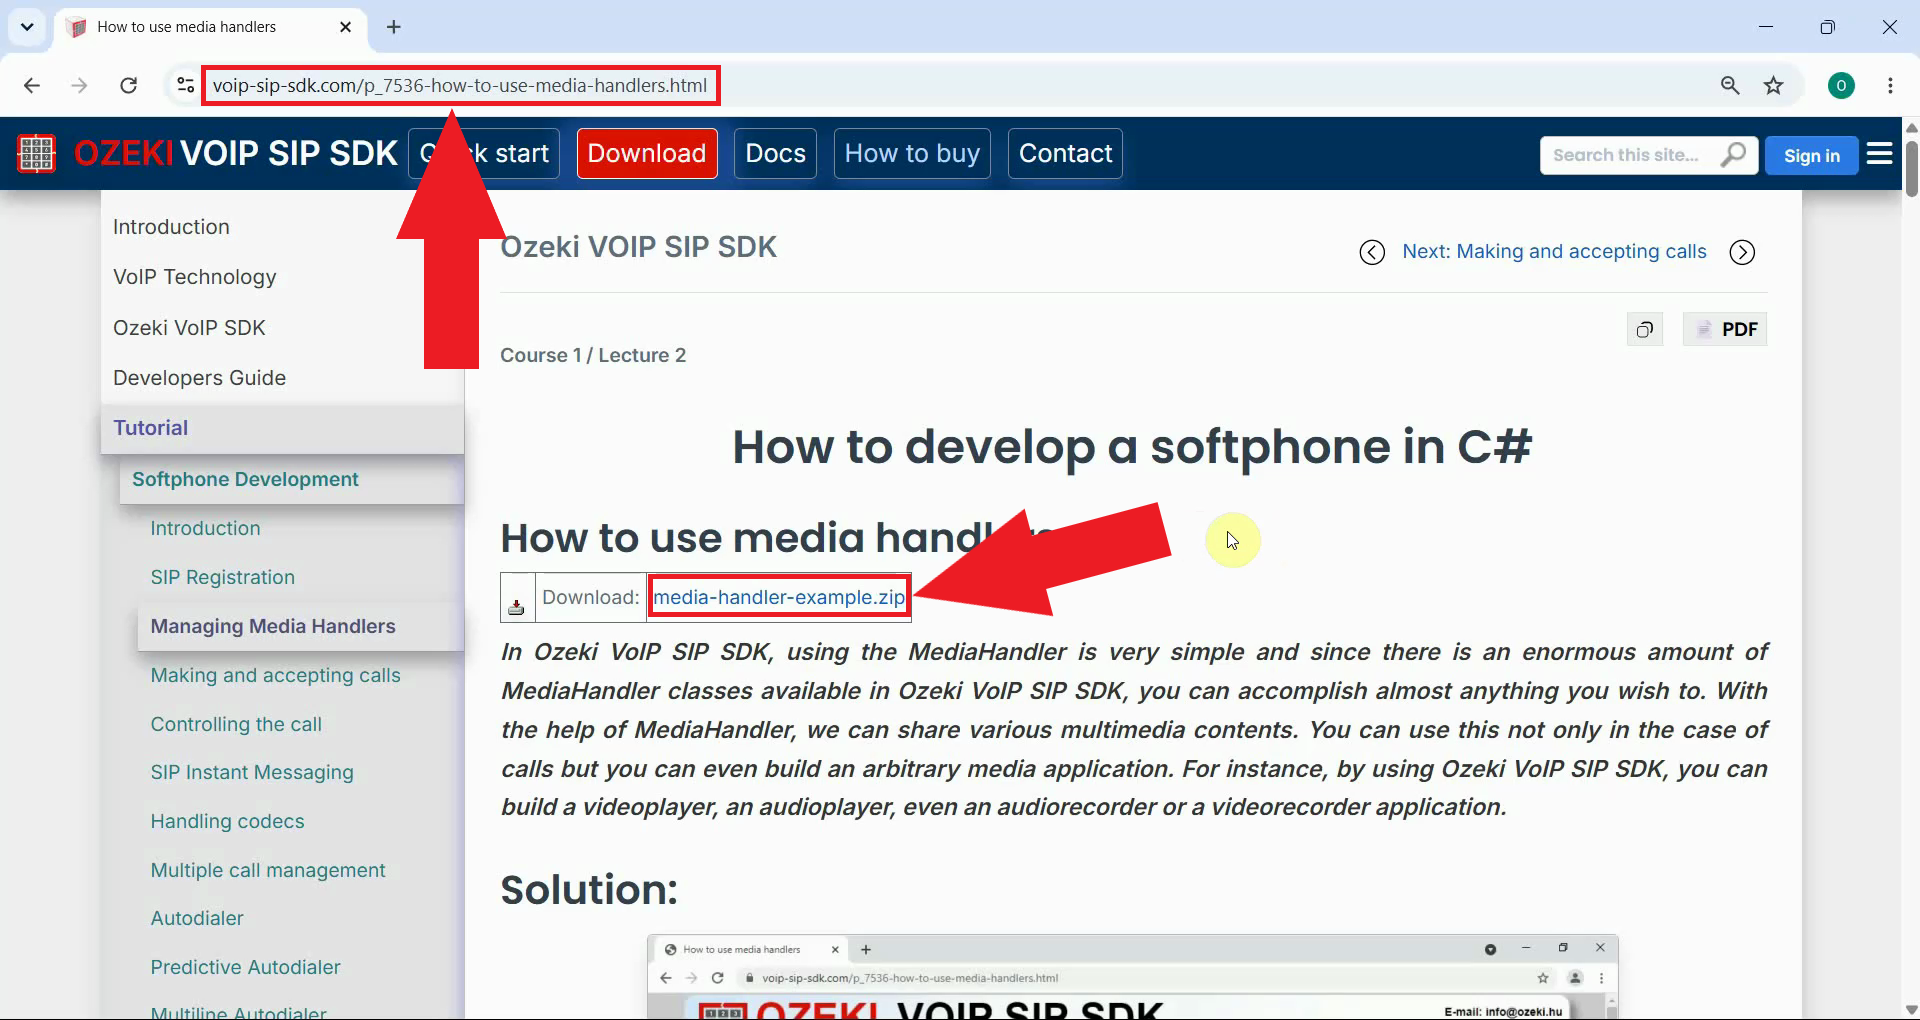
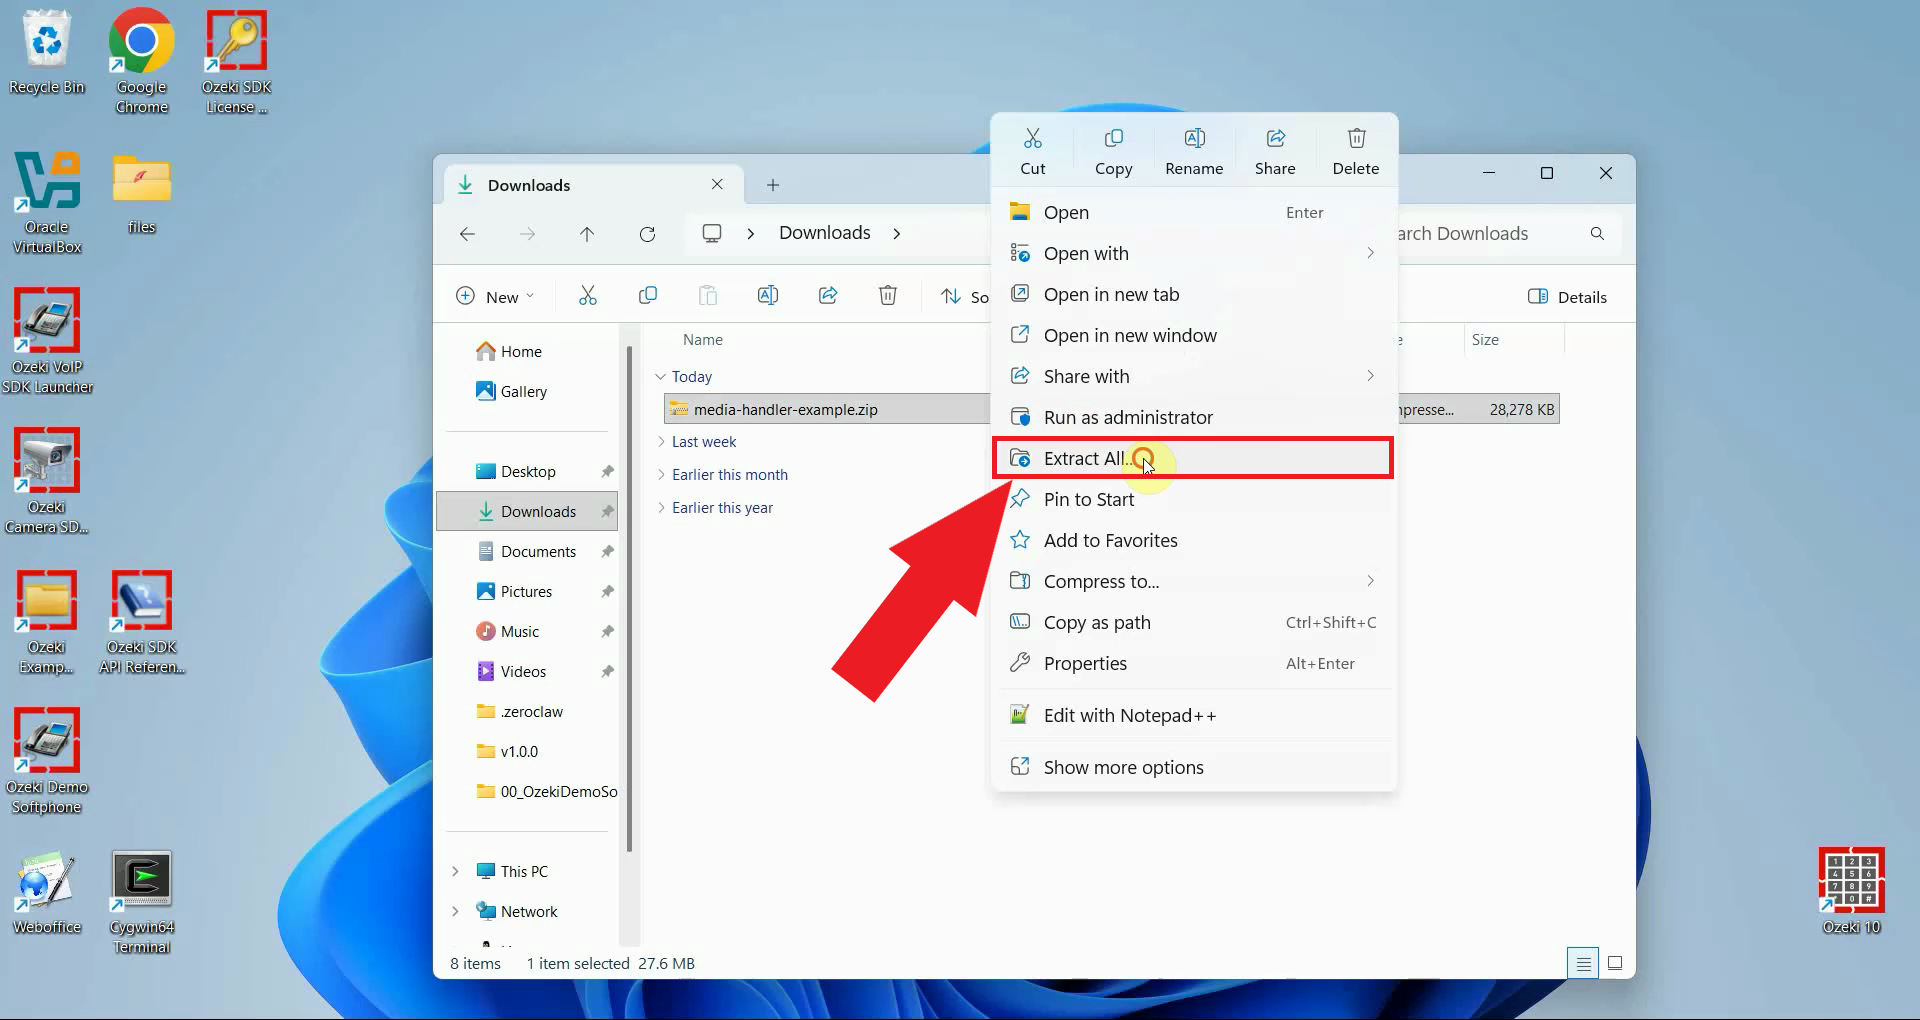
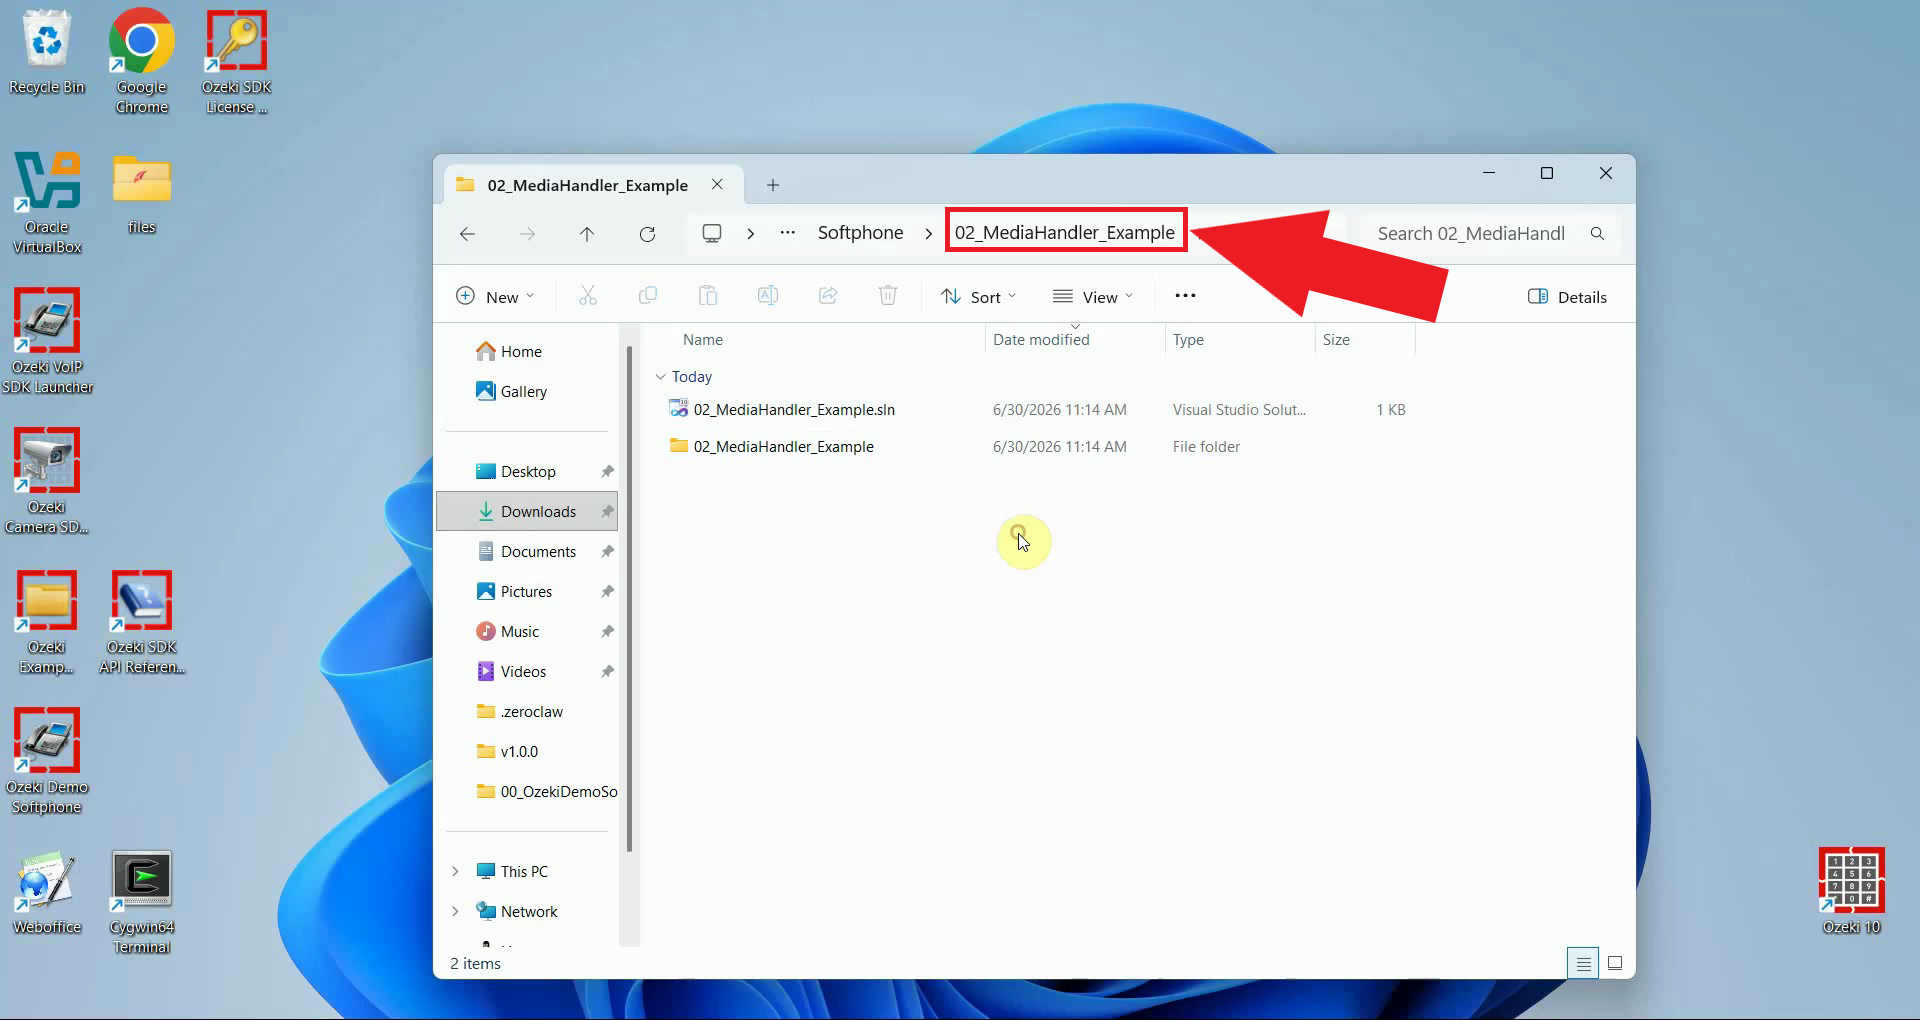
The following video walks through getting the example onto your machine: downloading media-handler-example.zip from the tutorial page, extracting it with Windows Explorer, and opening the resulting project folder to confirm the solution file is there.
Open the media handler example tutorial page and download the media-handler-example.zip package (Figure 1). This package contains the full Visual Studio solution used throughout this tutorial.
Right-click the downloaded zip file in your Downloads folder and select Extract All to unpack it (Figure 2).
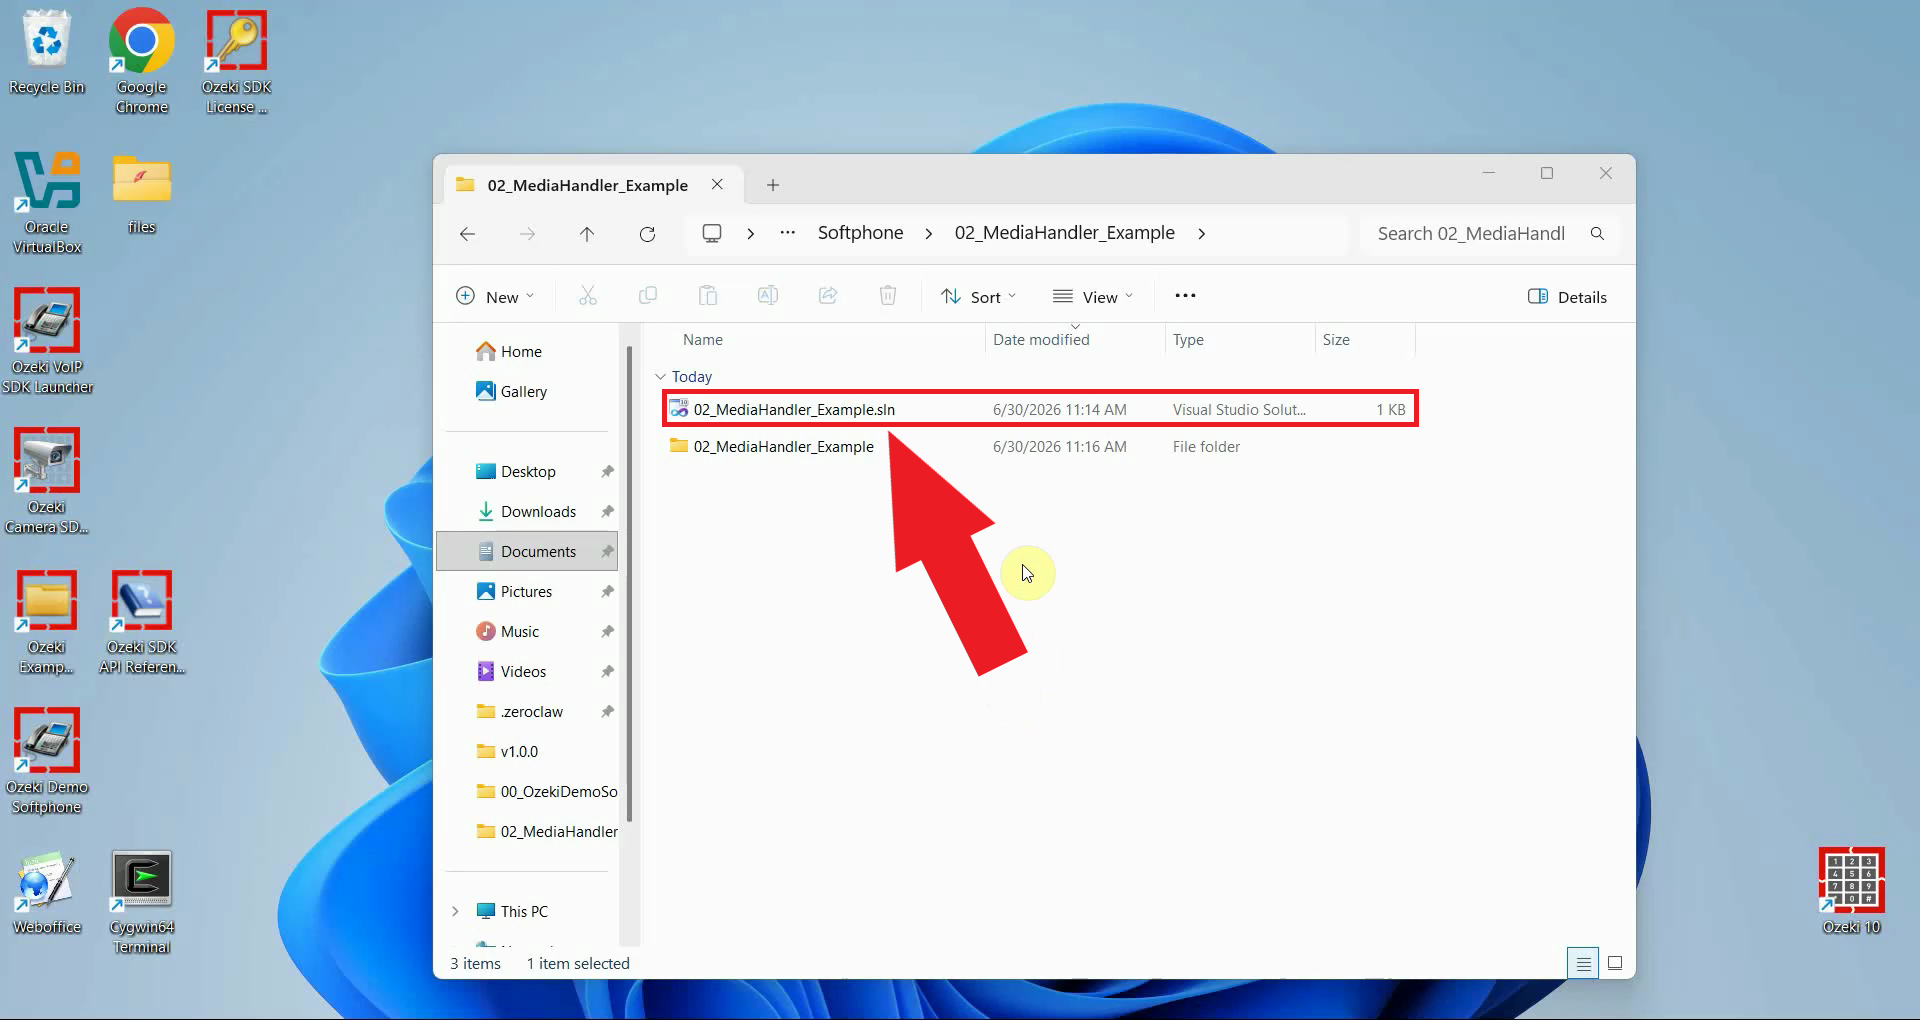
Navigate into the extracted project folder (Figure 3). Inside, you'll find the 02_MediaHandler_Example.sln solution file alongside a folder containing the project's source files.
Build the example
The following video covers opening the downloaded solution in Visual Studio and compiling it: double-clicking the .sln file to launch the IDE, then using the Build menu to produce a runnable executable before moving on to debugging.
Double-click 02_MediaHandler_Example.sln to open the solution in Visual Studio (Figure 4).
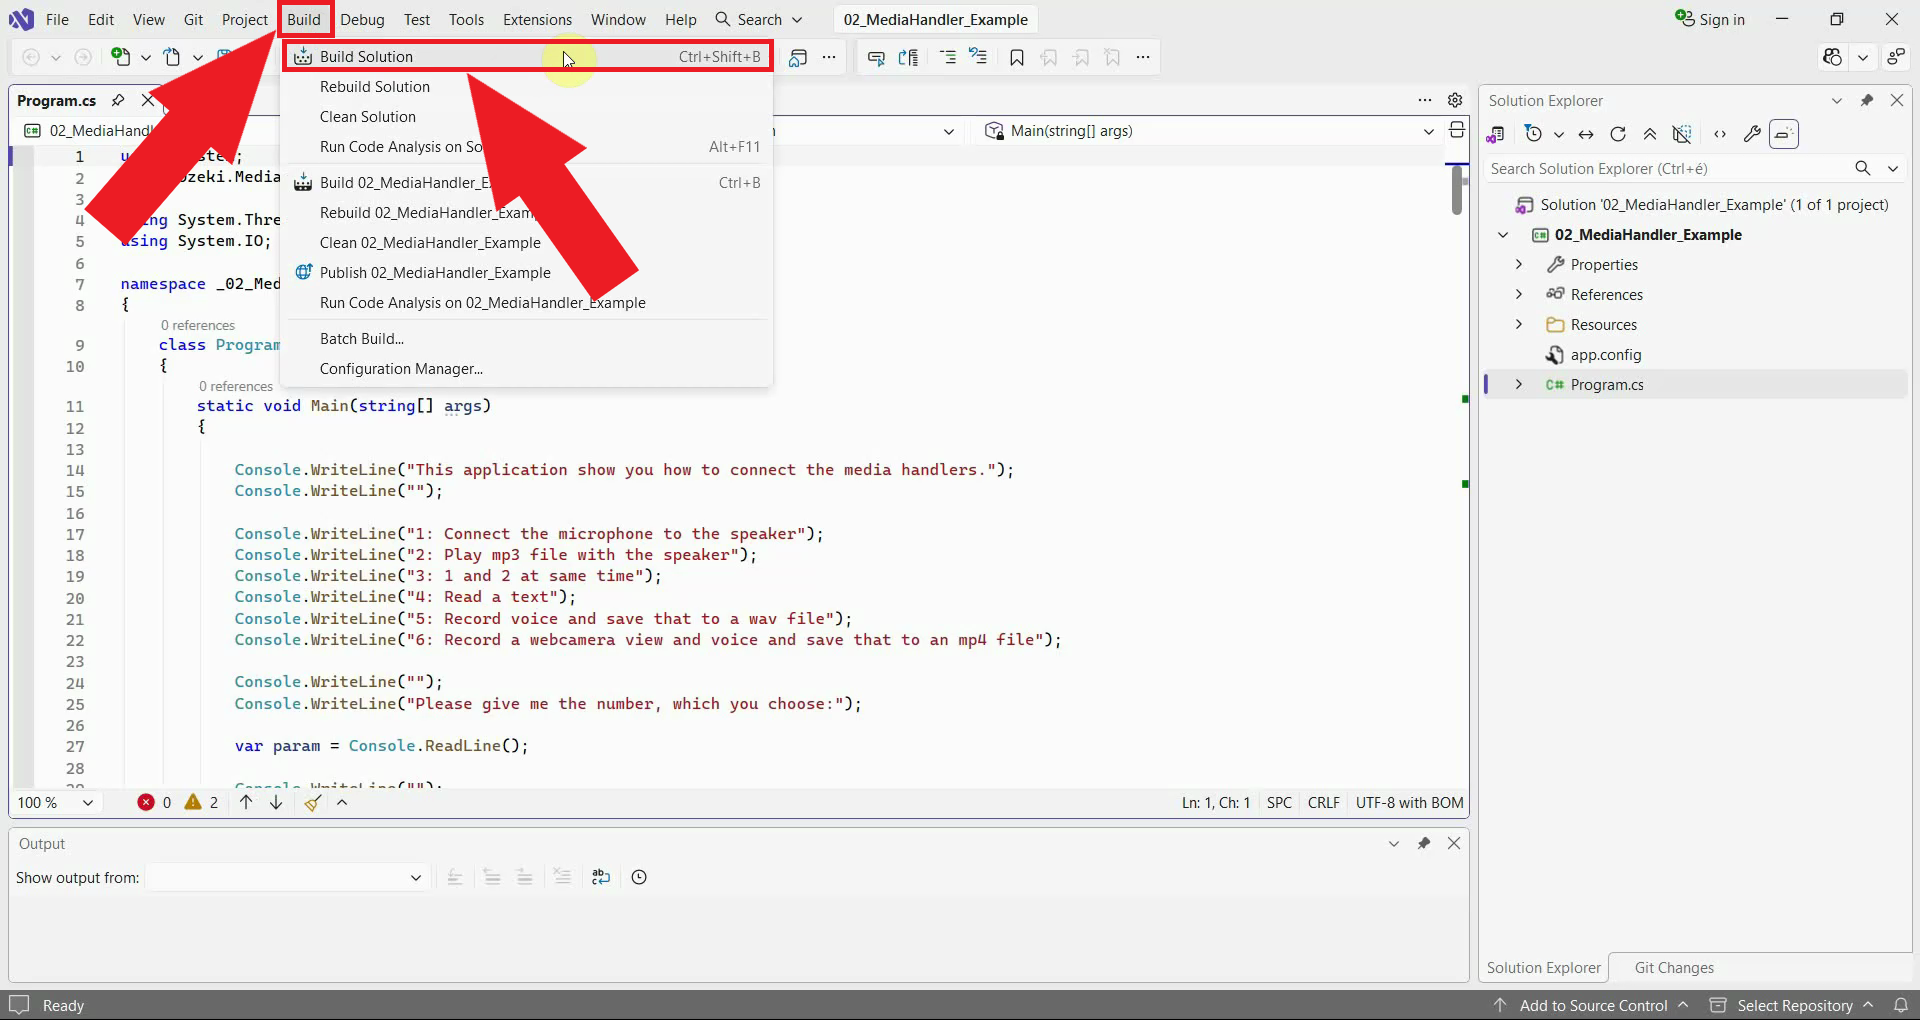
Open the Build menu and select Build Solution to compile the project (Figure 5). Visual Studio compiles Program.cs and produces an executable you can run and debug.
Debug and test the example
The following video shows the example actually running: starting it under the debugger, typing in a menu option to pick which MediaHandler combination to try, and reading the console output that confirms the chosen example worked.
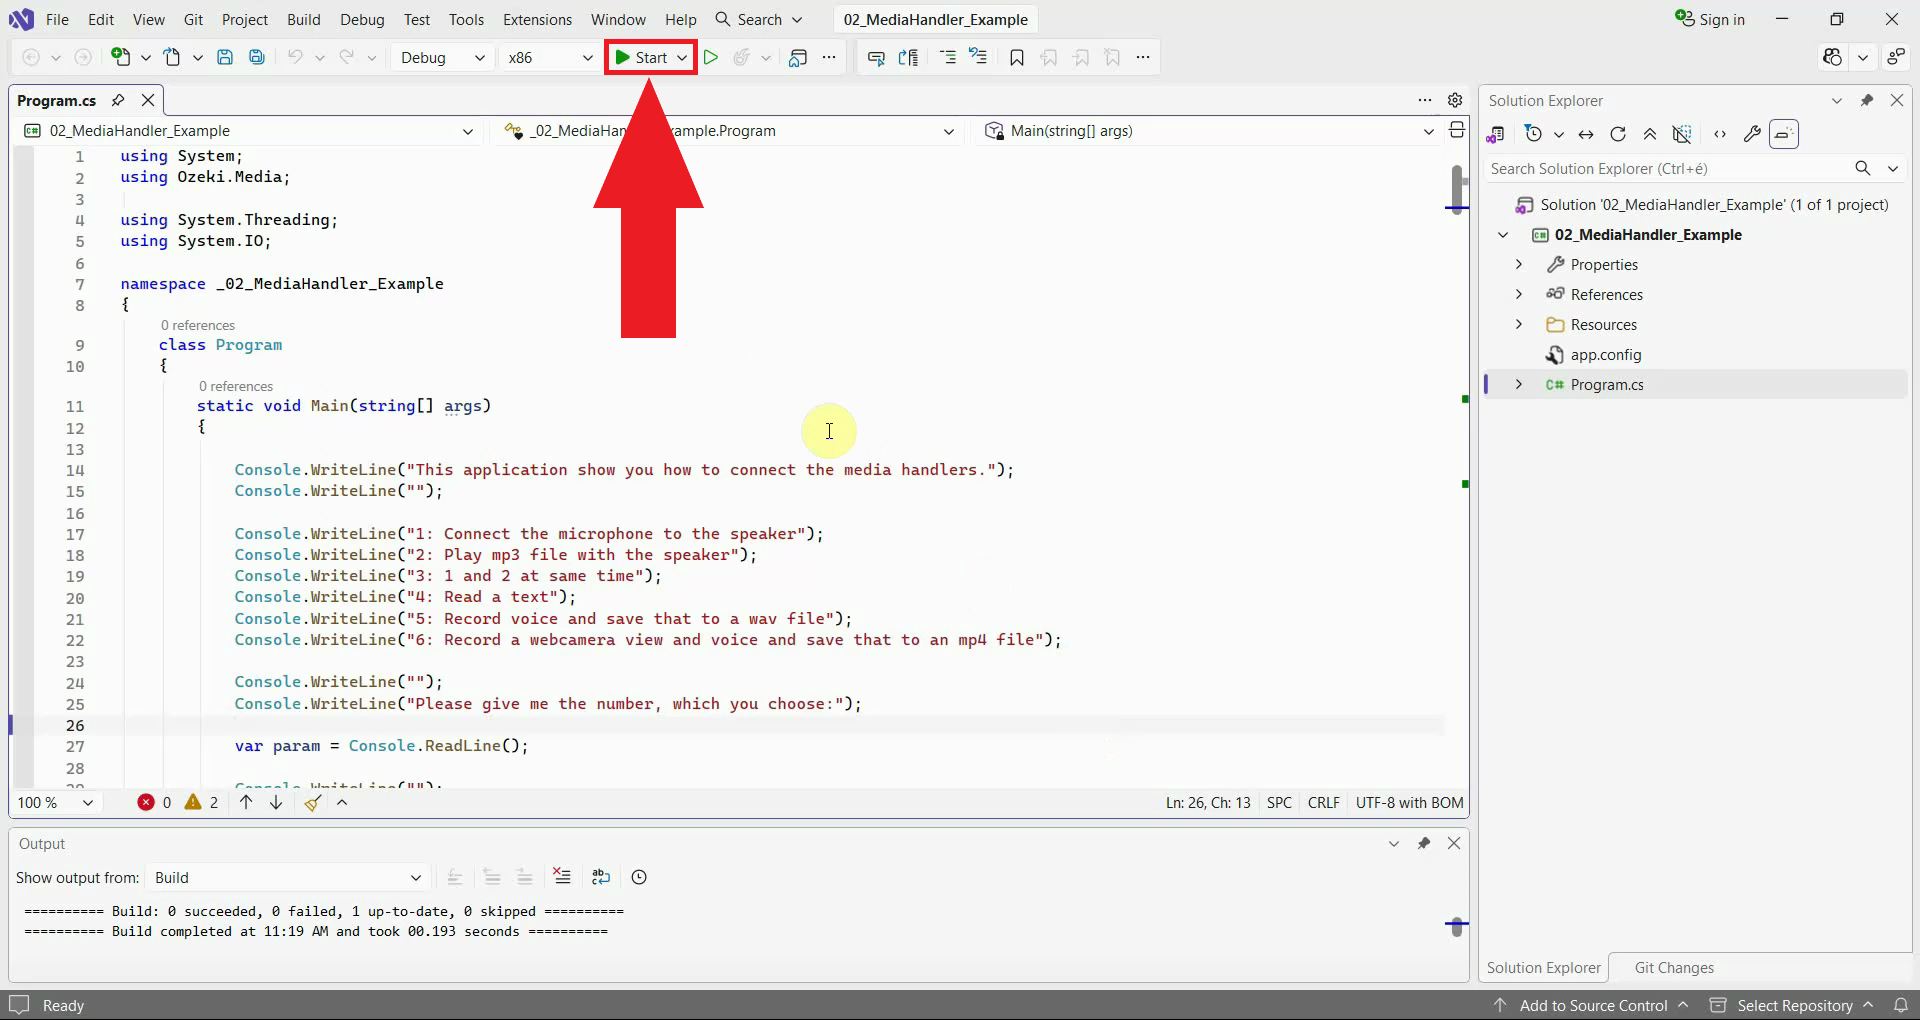
Press Start, or press F5, to launch the application under the debugger (Figure 6).
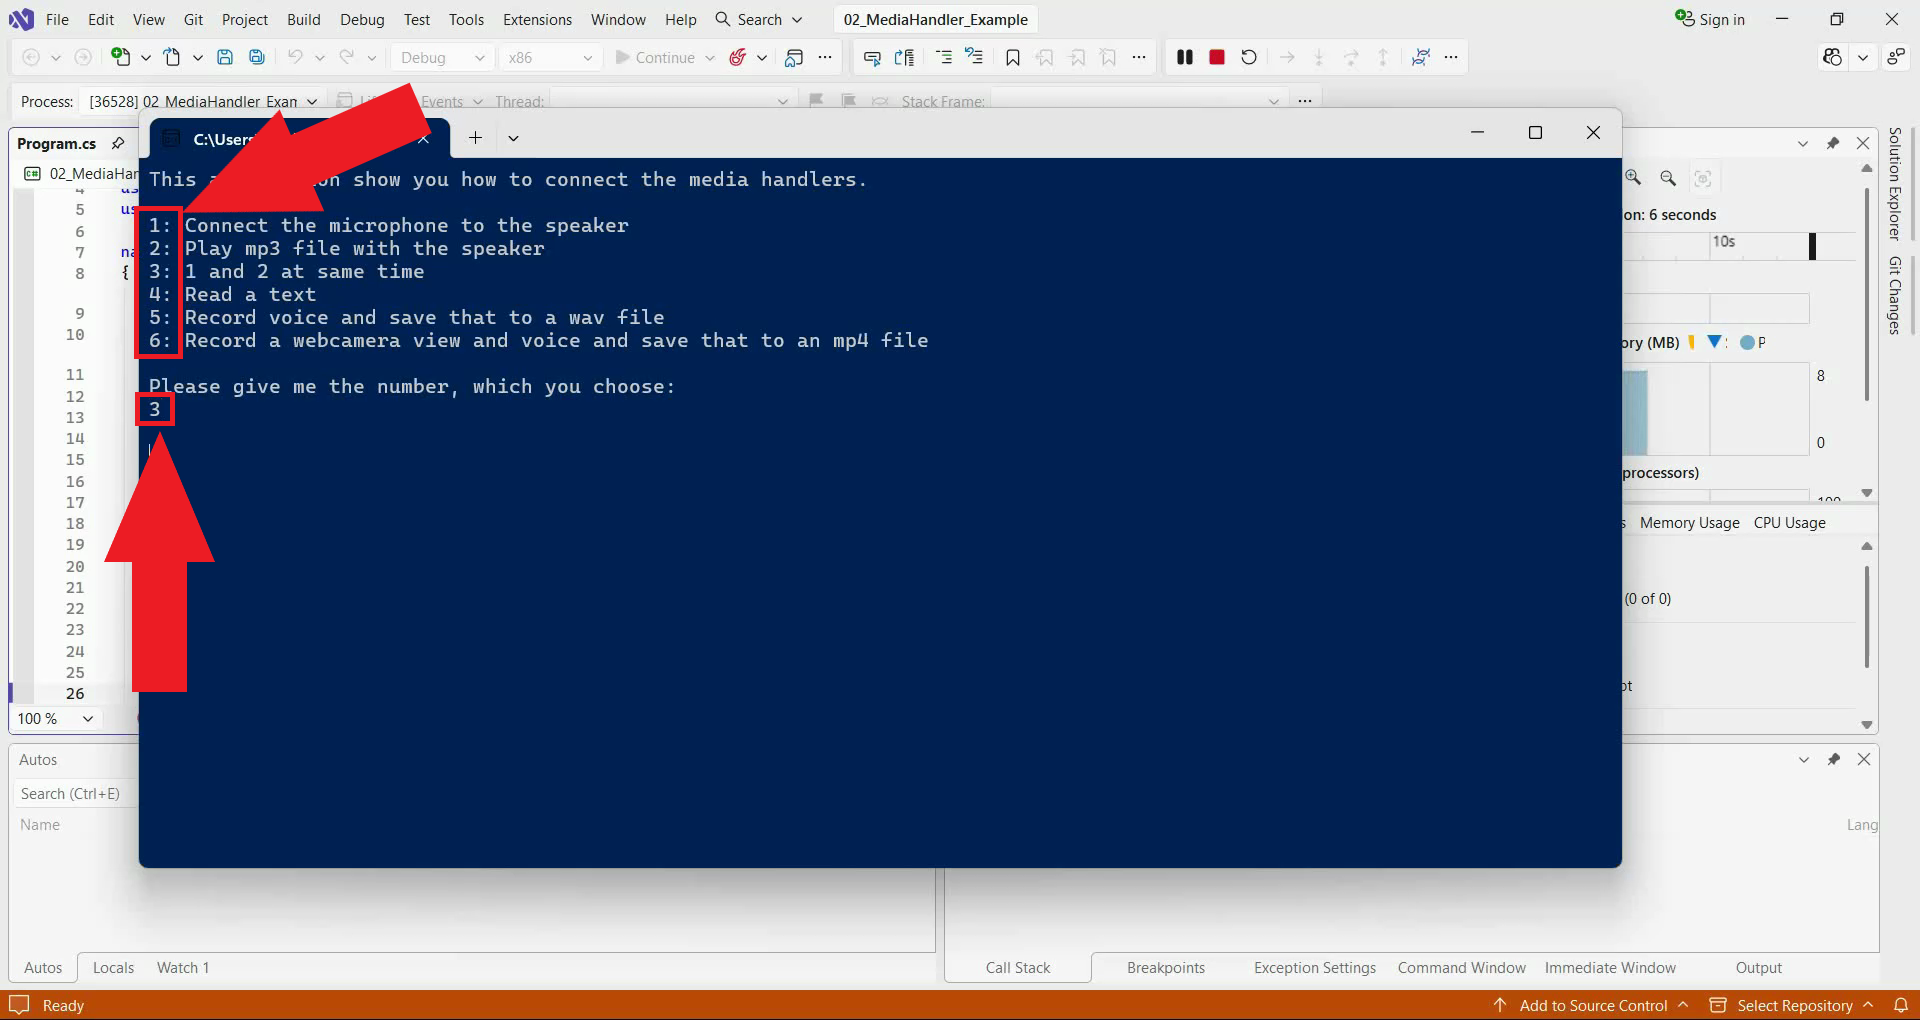
Type one of the numbers from the printed menu into the console and press Enter to run that example (Figure 7). In this example, option 3 is selected, which runs the MicrophoneAndMP3ToSpeaker() function described below.
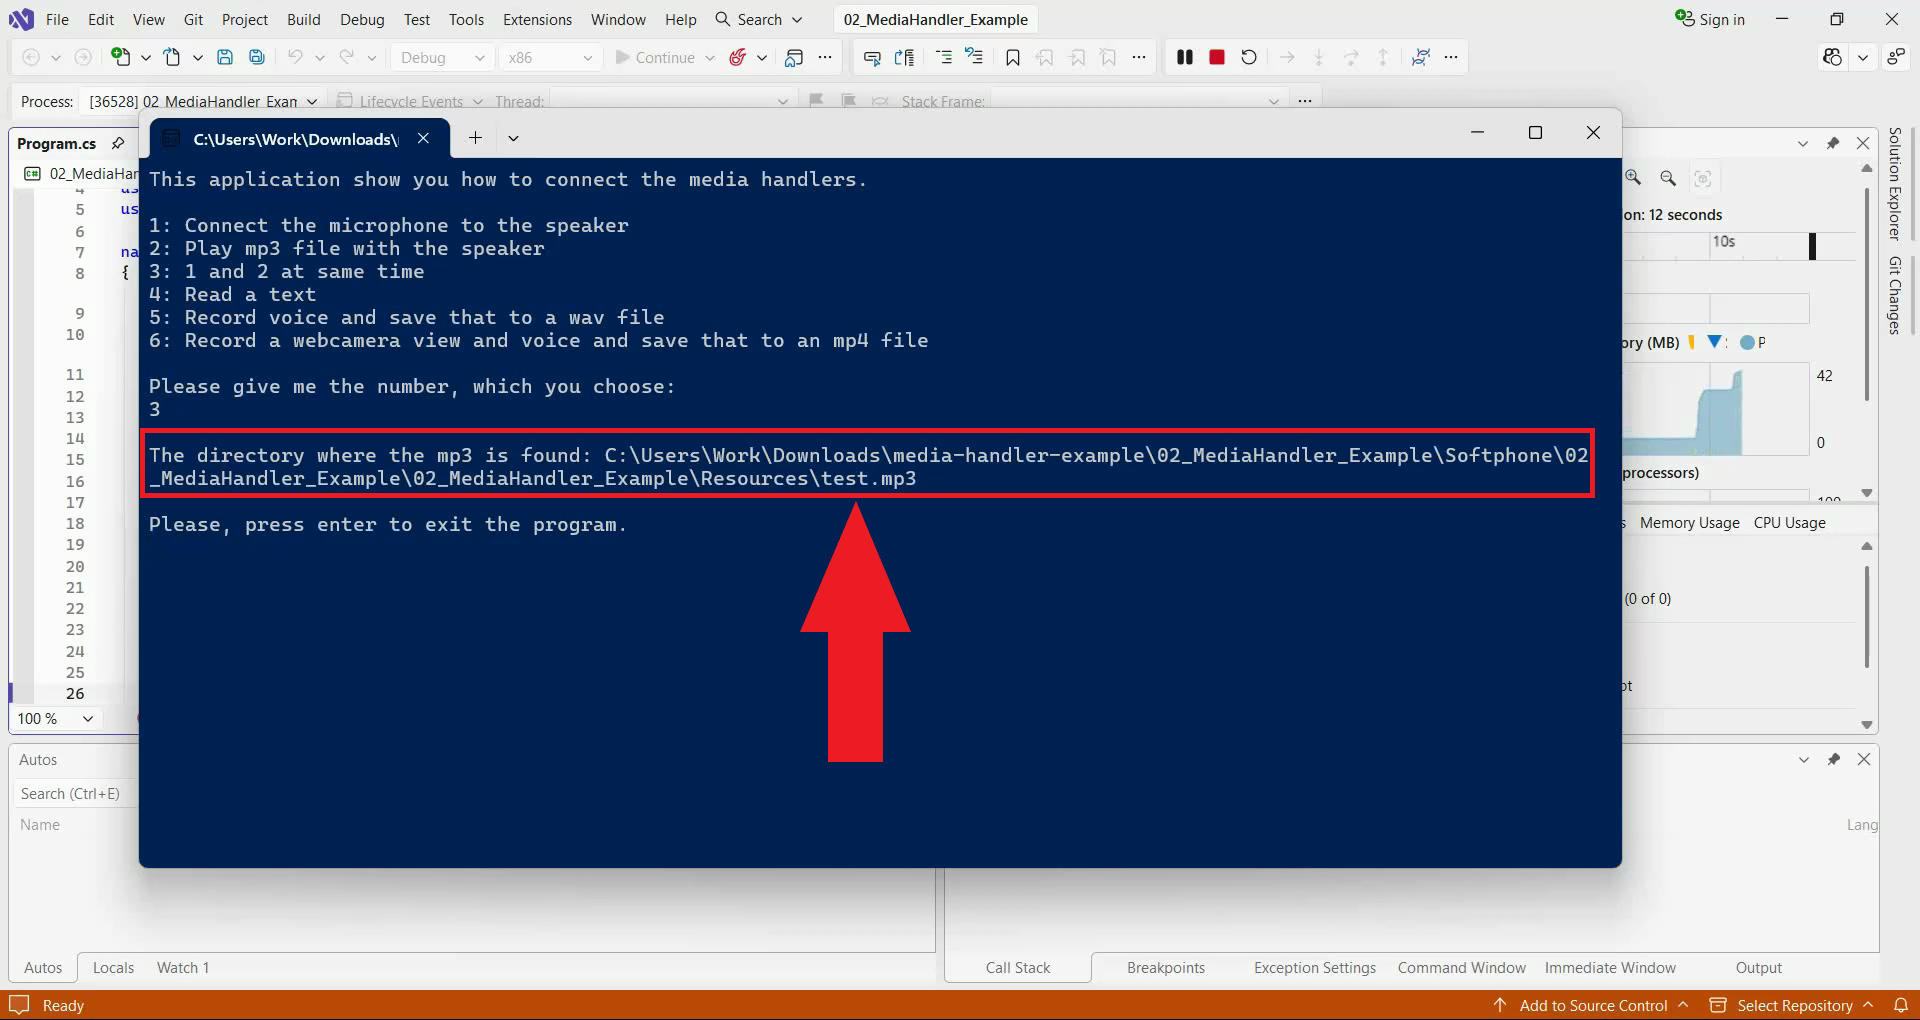
The selected example runs and prints its result to the console (Figure 8). Here, the application reports the full path to the test.mp3 file it located, confirming that the MicrophoneAndMP3ToSpeaker() example is playing audio correctly through the connected MediaHandlers.
Key source code
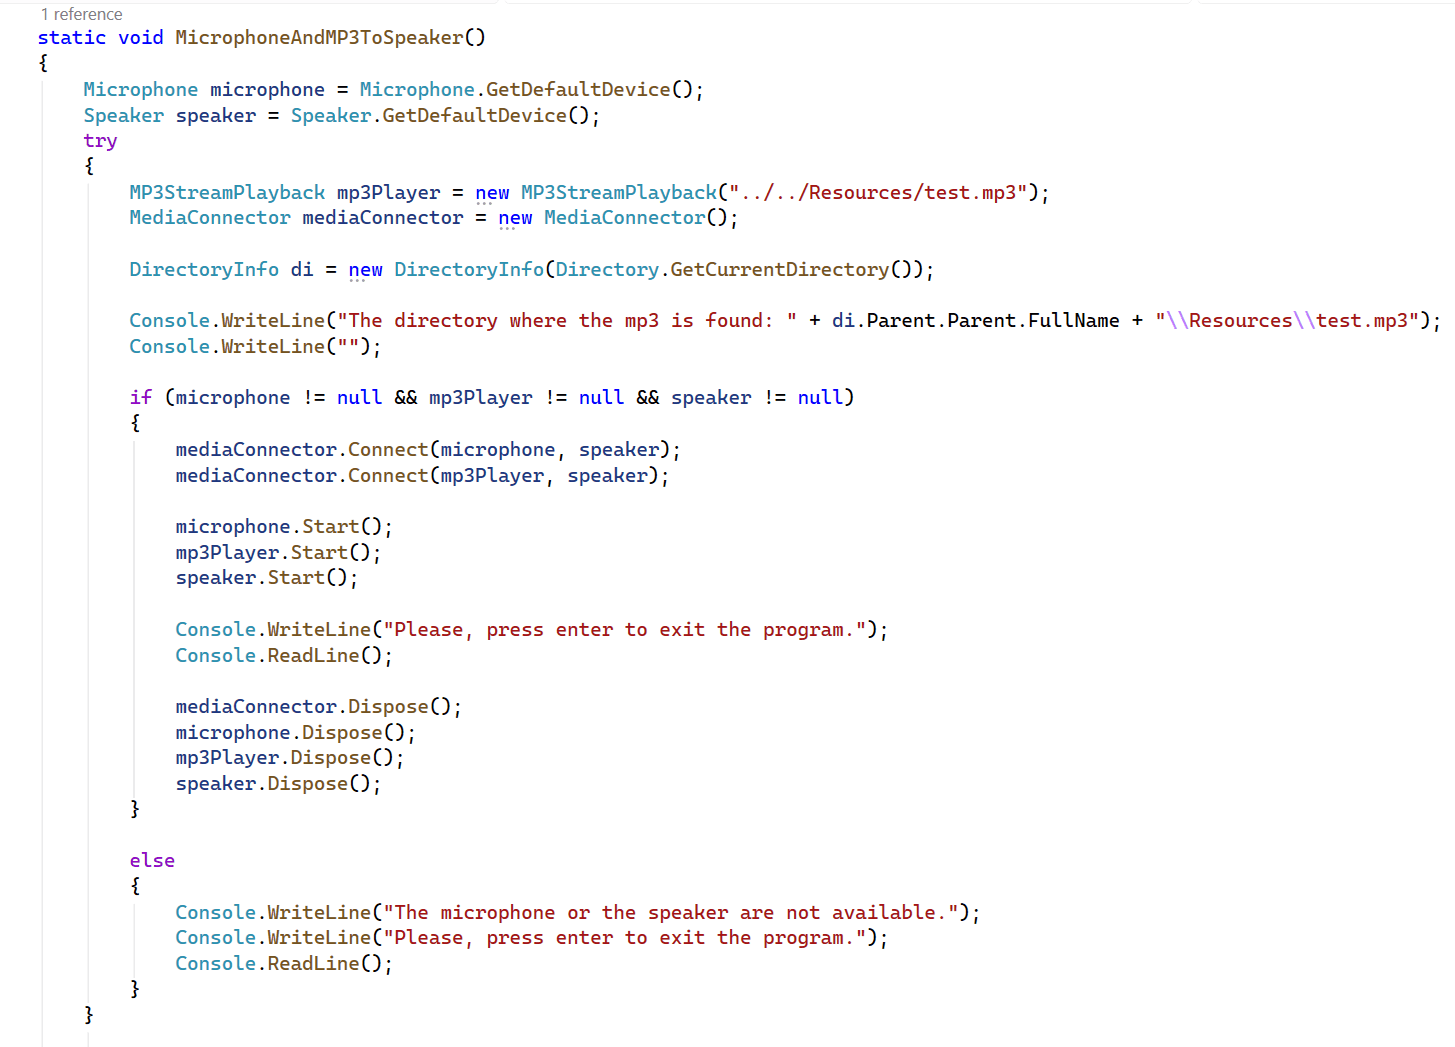
This snippet shows the MicrophoneAndMP3ToSpeaker() function, which is the example used in the videos above. It creates a Microphone, an MP3StreamPlayback, and a Speaker, then uses a single MediaConnector to connect both the microphone and the MP3 player to the same speaker, mixing their audio together. Calling Start on all three devices begins playback, and the program waits for the user to press Enter before disposing of every object to release the underlying audio resources.
Classes:
Program.csThe class contains the Main function, controls the console window, and provides a connection with the user.
Source code analysis
To be able to understand the source code, you should examine the functionality of the classes used. In the "using section", we need to add some extra lines, like the following:
using Ozeki.Media.MediaHandlers;
using Ozeki.Media.MediaHandlers.Video;
using System.Threading;
using System.IO;
Program.cs
Program.cs prints a menu of six examples and lets the user pick one by number:
- Connecting the Microphone to the Speaker.
- Playing an mp3 file with the Speaker.
- Connecting the audio of the microphone and the mp3 file simultaneously to the Speaker.
- Reading written text out loud.
- Record voice and save that to a wav file
- Recording the audio and the video of the webcamera in mp4 format
Main function
The Main() method prints the menu shown above, reads the chosen number, and uses a switch statement to call the matching function. If the entered number doesn't match any case, it prints an error and waits for the user to press Enter.
var param = Console.ReadLine();
switch (param)
{
    case "1": MicrophoneToSpeaker(); break;
    case "2": MP3ToSpeaker(); break;
    // ...
    case "6": CameraToMPEG4(); break;
}
Functions:
1. static void MicrophoneToSpeaker()
Connects a Microphone directly to a Speaker, so anything picked up by the microphone plays back immediately. It gets the default microphone and speaker, connects them with a MediaConnector, then starts both. Pressing Enter disposes the microphone, speaker, and connector to release the devices.
mediaConnector.Connect(microphone, speaker);
microphone.Start();
speaker.Start();
2. static void MP3ToSpeaker()
Plays an MP3 file through the Speaker, using an MP3StreamPlayback as the source instead of a Microphone. It points the player at test.mp3, connects it to the default speaker, and starts playback. A surrounding try/catch block reports a problem instead of crashing if the file or the speaker isn't available.
var mp3Player = new MP3StreamPlayback("../../Resources/test.mp3");
mediaConnector.Connect(mp3Player, speaker);
mp3Player.Start();
3. static void MicrophoneAndMP3ToSpeaker()
Connects both a Microphone and an MP3StreamPlayback to the same Speaker at once, mixing the two audio sources together. The full listing for this function is shown in the Key source code section above.
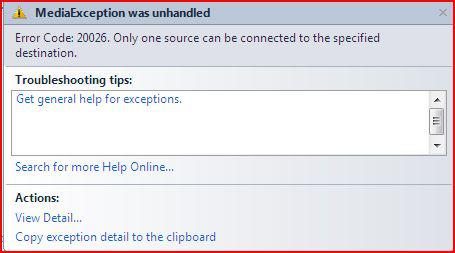
If the audio devices or the MP3 file can't be initialized, the MediaHandler classes raise a MediaException, which this example catches and reports to the console (Figure 9).
4. static void TextToSpeaker()
Converts text into speech using a TextToSpeech engine connected to the Speaker. It creates the engine, connects it to the default speaker, then queues and starts the text to be read aloud.
var textToSpeech = new TextToSpeech();
mediaConnector.Connect(textToSpeech, speaker);
textToSpeech.AddAndStartText("Please read this text.");
5. static void RecordVoice()
Records the Microphone's audio to a timestamped .wav file using a WaveStreamRecorder. It builds a filename from the current time, connects the microphone to the recorder, and starts recording. Pressing Enter stops the recorder and the microphone and disposes the connector.
var recorder = new WaveStreamRecorder("../../Resources/" + filename);
mediaConnector.Connect(microphone, recorder);
recorder.Start();
6. static void CameraToMPEG4()
Records both the WebCamera's video and the Microphone's audio into a single .mp4 file. The video and audio streams are connected separately to the recorder's video and audio inputs, then multiplexed together once recording stops, reporting completion through the MultiplexFinished event.
mediaConnector.Connect(microphone, mpeg4Recorder.AudioRecorder);
mediaConnector.Connect(webCamera, mpeg4Recorder.VideoRecorder);
Thread.Sleep(5000);
mpeg4Recorder.Multiplex();
Attaching MediaHandlers to calls
MediaHandlers connect to each other freely, which is how a microphone's audio can reach a speaker. To send that audio through an active call instead, you attach the MediaHandler to the call itself.
To send voice from a Microphone to the other party during a call, you'll need:
- a Microphone object (called "microphone" in this example)
- a PhoneCallAudioSender object (called "mediaSender" in this example). If you would like to send video data, you have to use a PhoneCallVideoSender object. To learn more about media senders and receivers, please visit the Ozeki VoIP SIP SDK Reference documentation.
- an IPhoneCall object, which is the call itself (called "call" in this example)
- a MediaConnector object (called "connector" in this example)
You'll also need to set up the call object itself (phone line, events, etc.) to test this. See the Making and accepting calls chapter for examples of that.
Connect the Microphone to the PhoneCallAudioSender, then attach the sender to the call:
// Connecting the microphone to the mediaSender
connector.Connect(microphone, mediaSender);

// Attaching the mediaSender to the call
mediaSender.AttachToCall(call);