How to setup Ozeki VoIP SIP SDK with Skype Connect
This guide explains how you can connect Ozeki VoIP SIP SDK to Skype Connect for making VoIP calls efficiently from your application. It is simple and quick to get started.
In order to setup your system, first you need to download and install Ozeki VoIP SIP SDK. You also need to create a Skype account if don't have one. After these basic steps please follow the configuration steps below.
Download VoIP SIP SDK
The first thing to do if you wish to work with Ozeki VoIP SIP SDK, is to download and install it on your Windows computer. Once installed, you can use Visual Studio to add Voice and Video call capabilities to your project.
Link: Download Voip SIP SDK for Windows
Figure 1 demonstrates the simple operation of Ozeki VoIP SIP SDK with Skype Connect. After you configured the connection your system is ready to start VoIP calls from Ozeki VoIP SIP SDK via Skype Connect to any cellphone or landline phone. That's easy but effective!

Configuration steps
Please note that in order to make calls via Skype Connect you need to have some money in your Skype account.
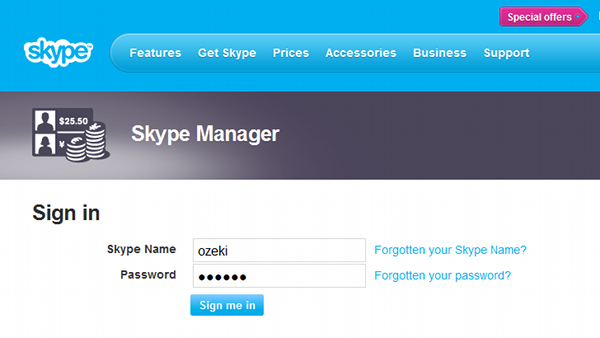
To start configuration log into your Skype account with your username and password (Figure 2)
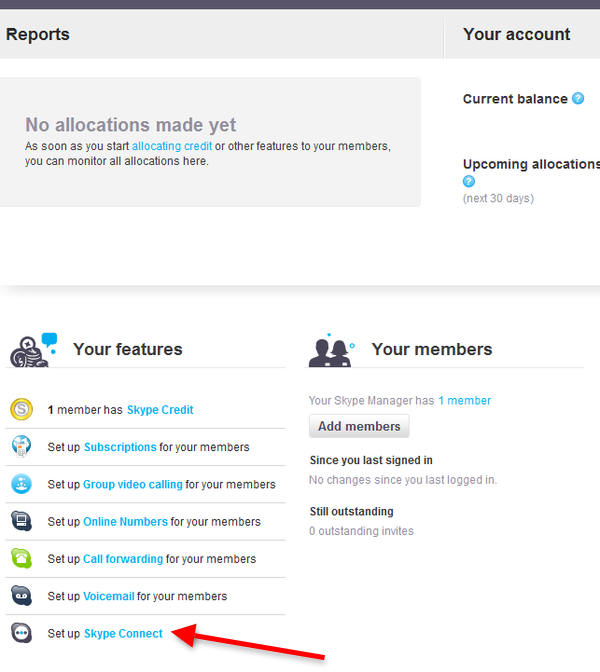
After login, select Set up Skype Connect option (Figure 3).
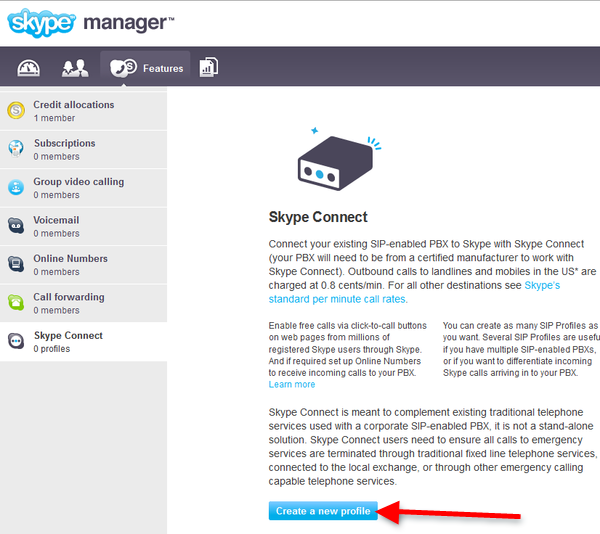
Now you need to create a new profile. For this purpose, click on Create a new profile button (Figure 4).
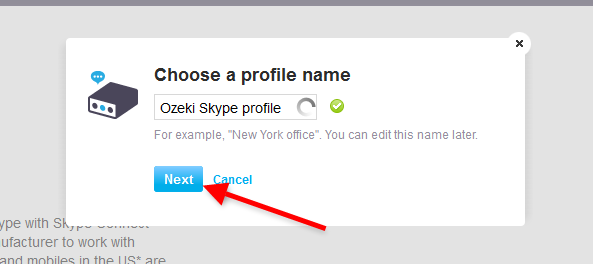
Then choose a profile name for the new profile. In this example, it is Ozeki Skype profile (Figure 5).
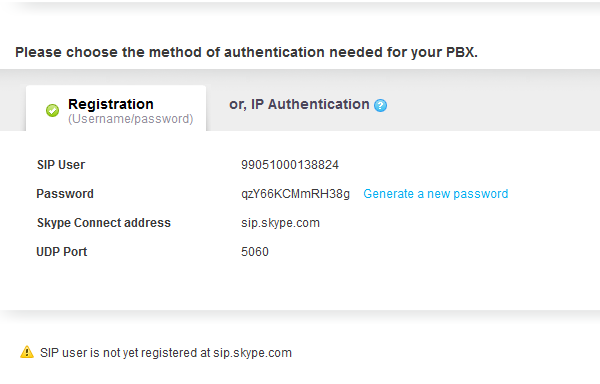
Next you need to choose the method of authentication needed for your PBX. Here please select Registration tab and enter your username at SIP User edit box and your password at Password edit box (Figure 6).
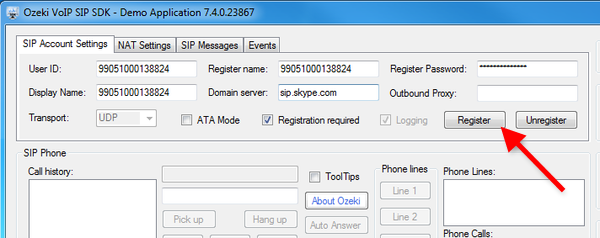
Now start Ozeki VoIP SIP SDK. Enter the username you used in Skype at User ID, Register Name and Display name fields and the password at Register Password field. The Domain server is sip.skype.com. Finally, click on Register (Figure 7).
After registration you can see the registered phone line at Phone Lines section of the interface. To test the system enter a telephone number to be called and click on Pick Up button (Figure 8).
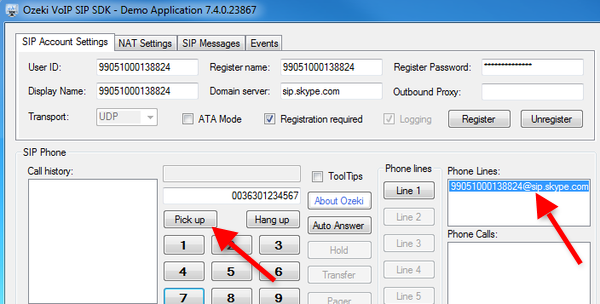
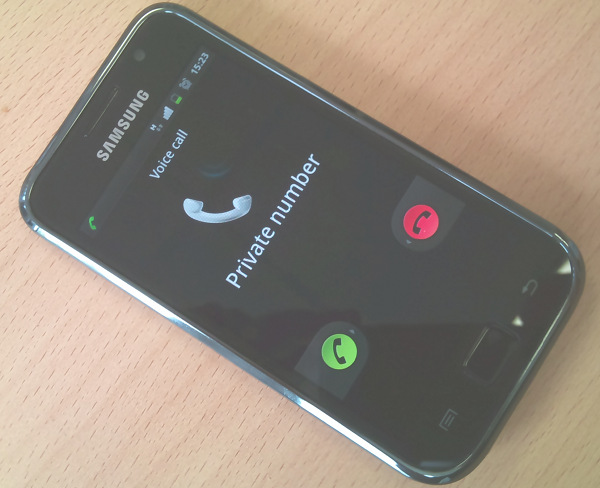
Figure 9 demonstrates that the called telephone is ringing (Figure 9).
With these simple configuration steps you can configure your Skype Connect account with Ozeki VoIP SIP SDK effectively. After some configuration your system is ready to make VoIP calls successfully and easily.
Select the suitable Ozeki VoIP SIP SDK license for your business
For more information please contact us at info@voip-sip-sdk.com
Related Pages
More information
- Skype connect setup
- Gafachi setup
- Callcentric setup
- SureVoIP setup
- VoIPtalk setup
