How to update Ozeki SDK NuGet packages
Keeping your development environment up to date is crucial for stability and access to the latest features. This guide walks you through the simple steps to update Ozeki SDK NuGet packages within a Visual Studio solution, ensuring your projects stay current and compatible. Whether you're maintaining existing applications or building new ones, these updates help streamline your workflow and enhance performance.
Open NuGet Package Manager
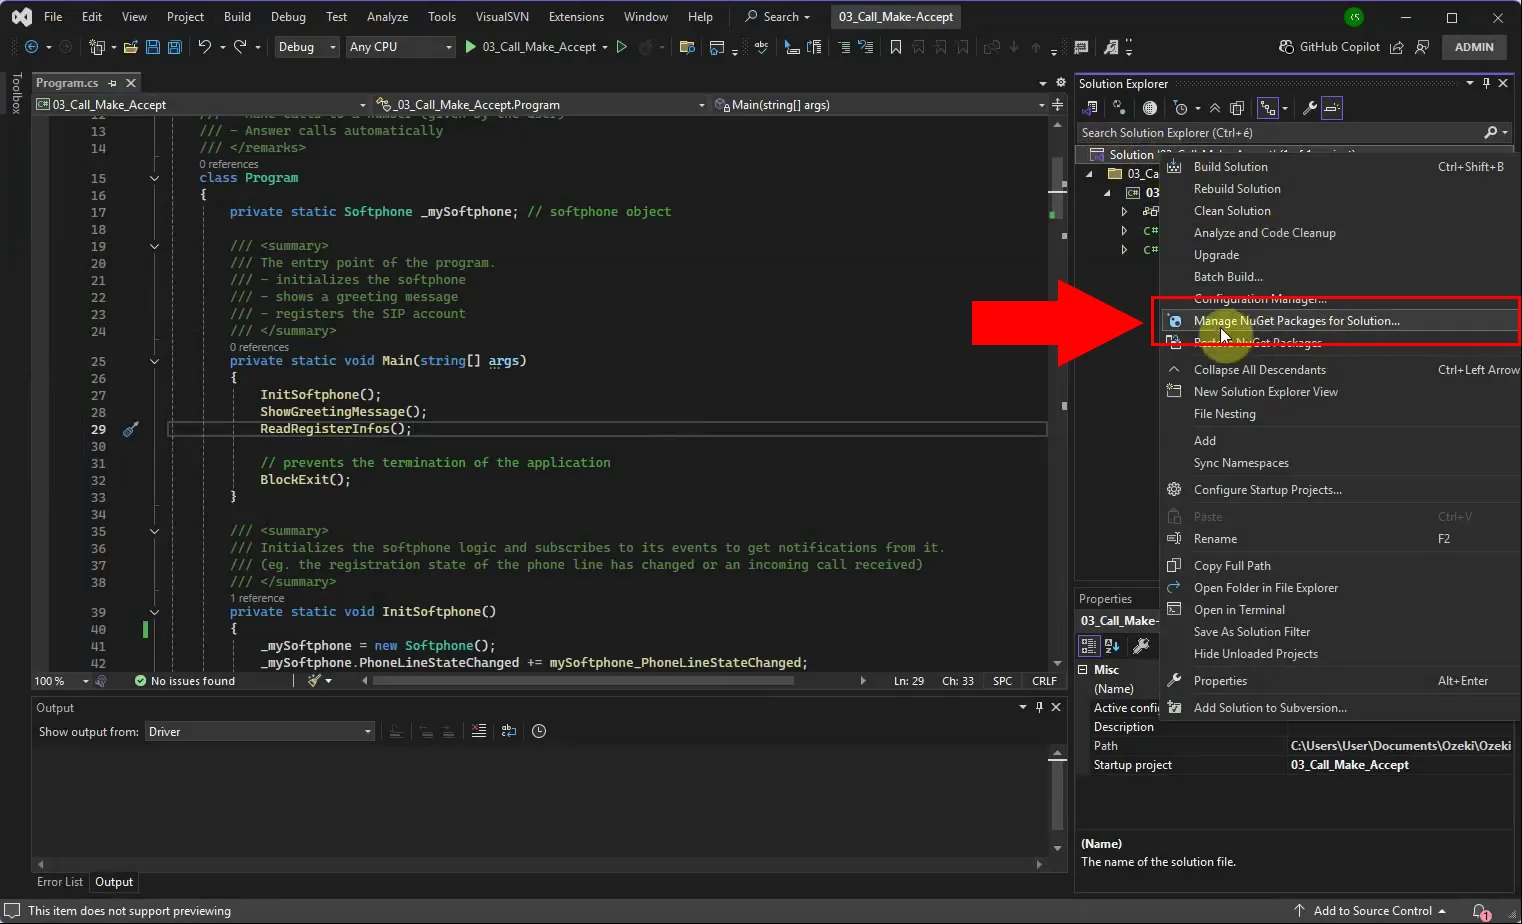
In Visual Studio, right click on your solution in Solution Explorer and select "Manage NuGet Packages for Solution." This opens the interface where you can manage dependencies. Make sure you're working at the solution level to update all projects consistently.
Select the Updates Tab
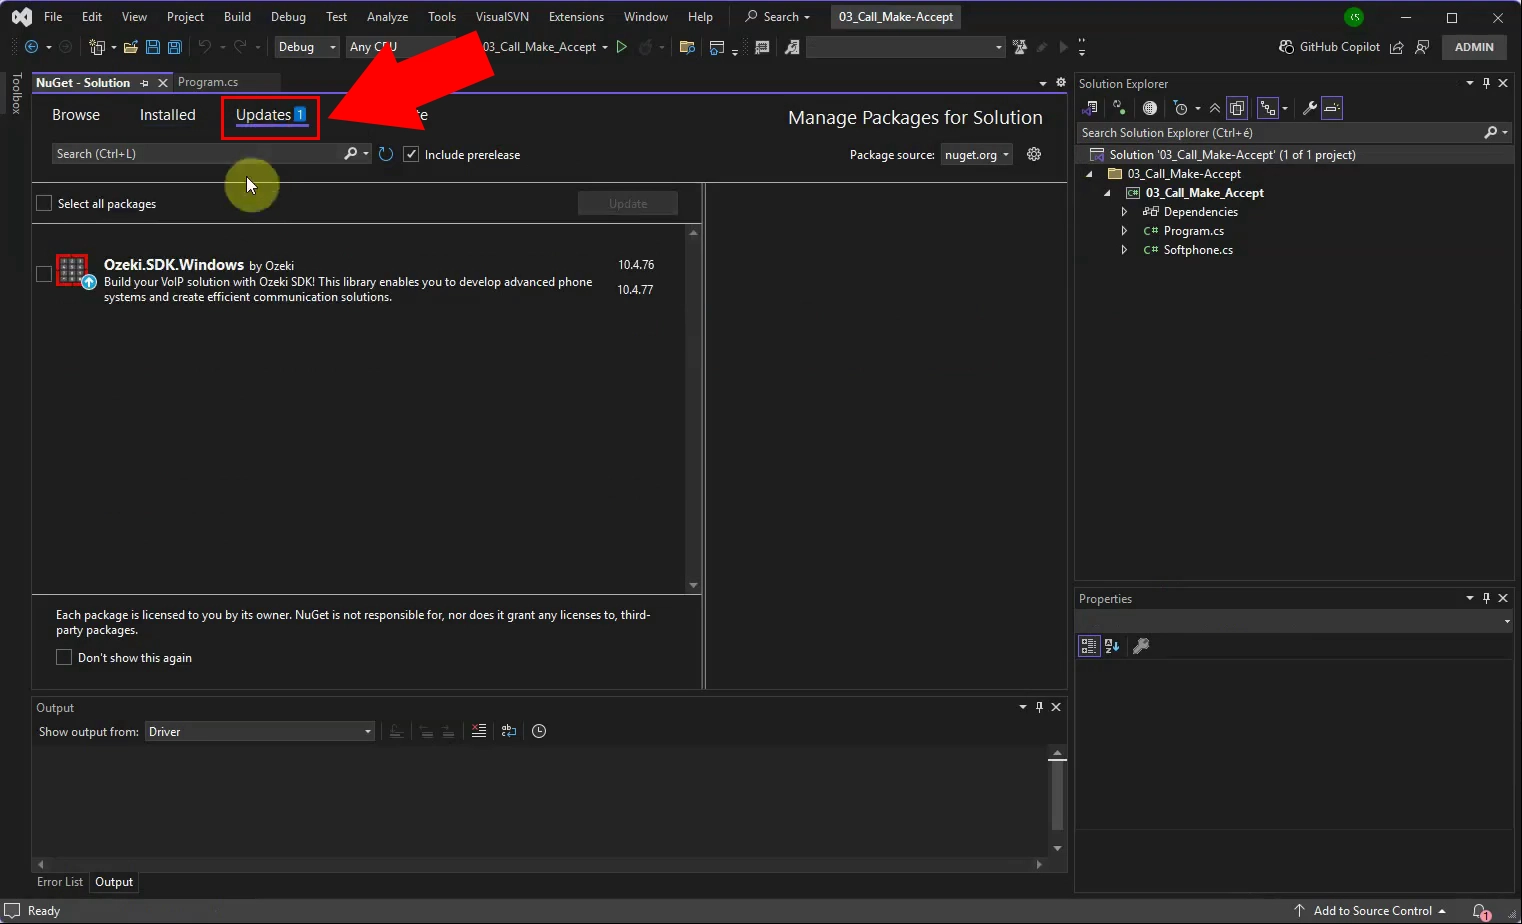
Navigate to the "Updates" tab in the NuGet Package Manager. This tab lists all packages with available updates. Locate the Ozeki SDK packages among them.
Update Ozeki Packages
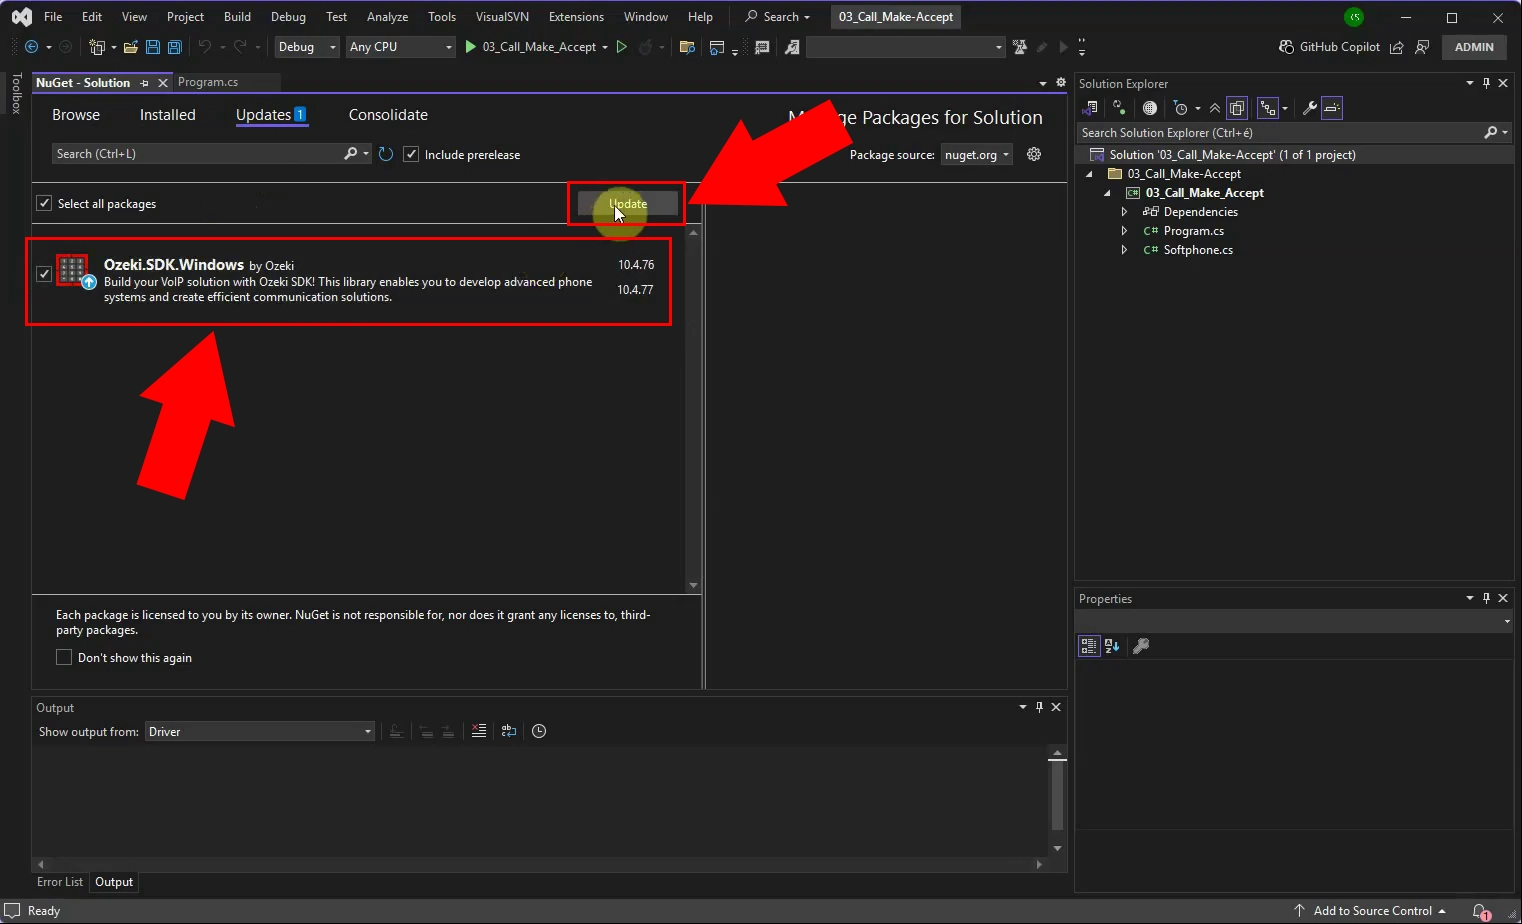
Check the boxes next to the Ozeki packages you want to update. Click the "Update" button to begin the process. This ensures you're using the latest features and fixes.
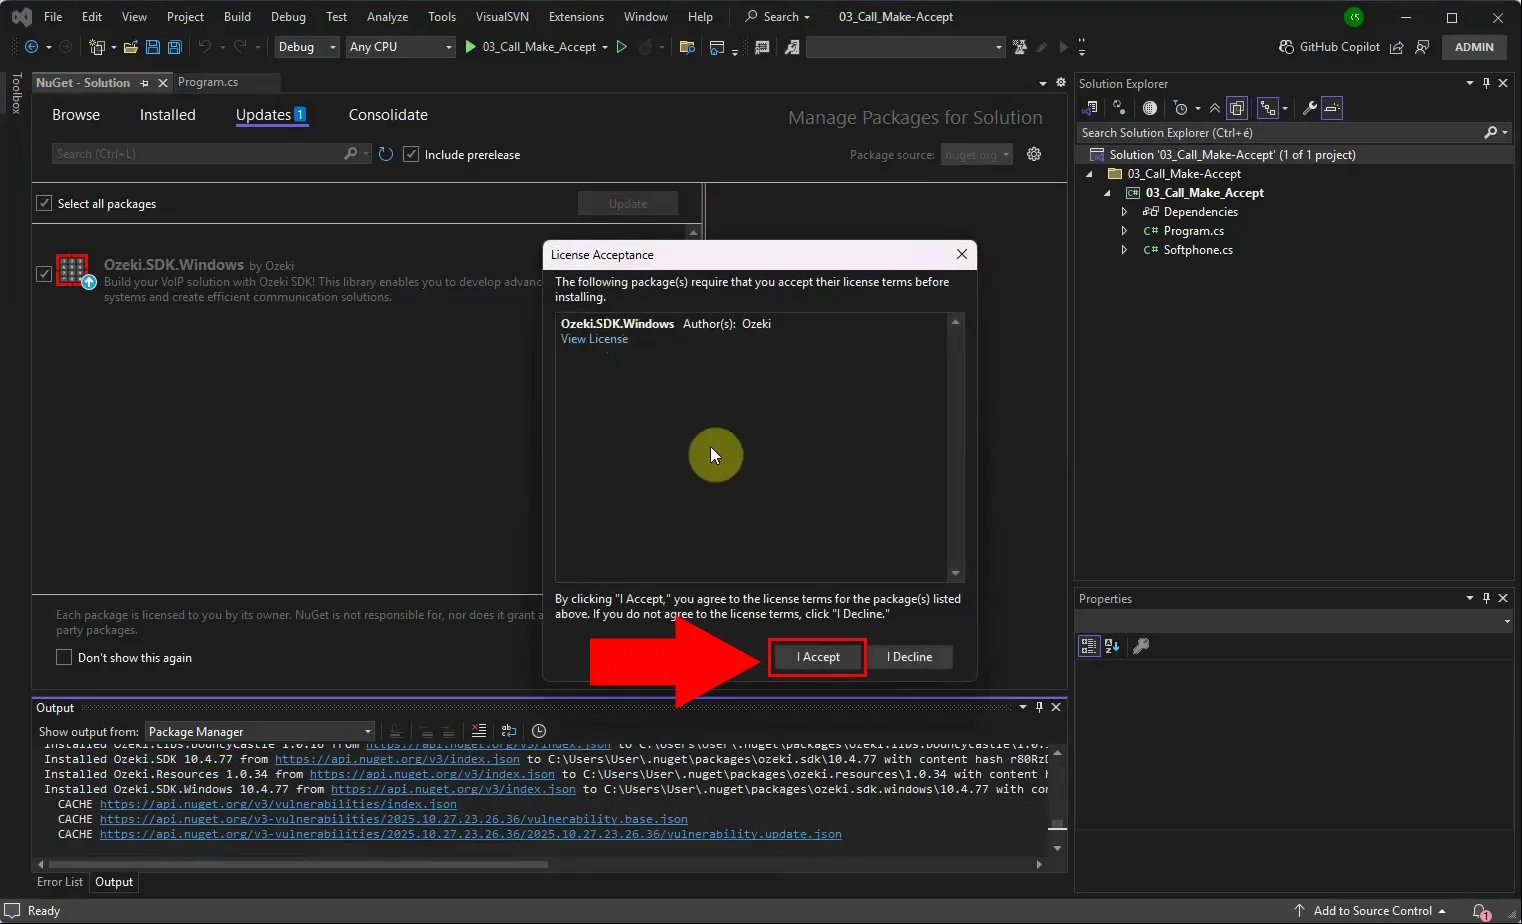
Accept License Agreement
A license agreement prompt will appear review and accept it to proceed. This step is mandatory for package installation. Without acceptance, the update won't continue.
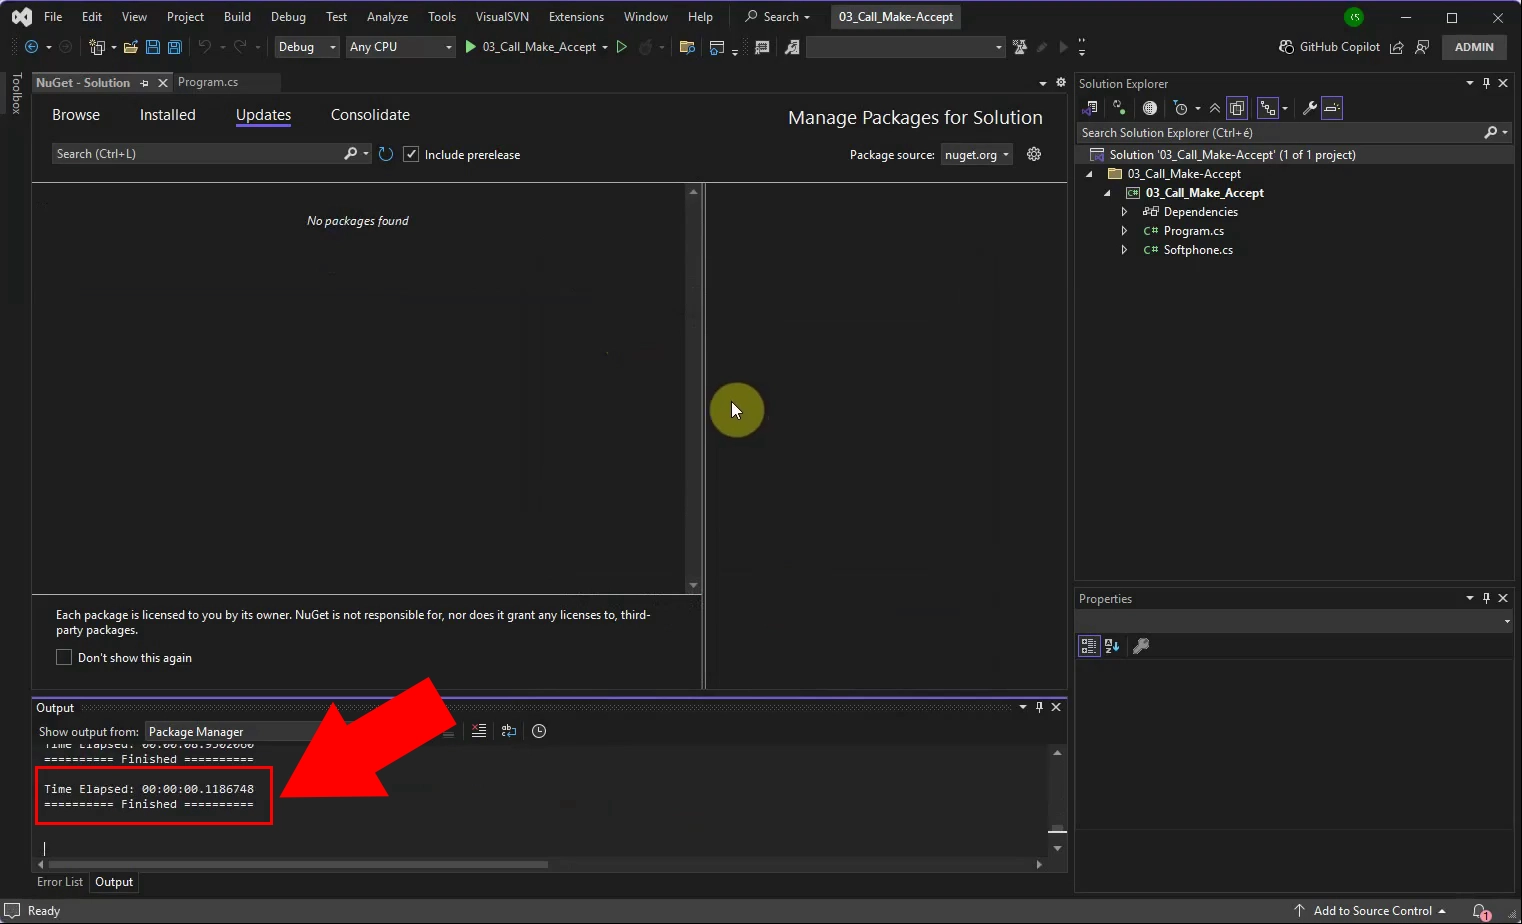
Update Finished
Once the update completes, you'll see a confirmation message. Your solution now uses the latest Ozeki SDK packages. You can verify the update in the "Installed" tab or your project references.
