How to setup Ozeki VoIP SIP SDK with Asterisk
This guide shows how you can connect Ozeki VoIP SIP SDK to your Asterisk PBX. This solution gives you a brief explanation about how you can configure Ozeki VoIP SIP SDK to start building your own application.
Ozeki VoIP SIP SDK uses Voice over IP to establish phone calls. Using VoIP technology is less expensive than traditional phone services. With Ozeki VoIP SIP SDK you can view your registered phone line and your active phone calls. You can establish calls using the Softphone of the Demo Application. You can also select the codec to be used during the phone call.
This configuration guide demonstrates how you can connect Ozeki VoIP SIP SDK to your Asterisk PBX.
System architecture
If you follow the configuration guide, you will have a telephone system that works
as follows:
First, create an extension in your Asterisk PBX. Ozeki VoIP SIP SDK
will connect using this created extension. Once Ozeki VoIP SIP SDK Studio is connected, you can
start your calls. The destination phone
could be a VoIP phone, a land line phone or a mobile phone. You can see this process in
Figure 1.

- Ozeki VoIP SIP SDK registers to Asterisk
- The call will be forwarded to Asterisk using the created extension
- The destination phone will be ringing
- You can start talking using the SDK
Configuration steps
Before you start to configure this solution it is assumed that you have already installed your Asterisk PBX and downloaded Ozeki VoIP SIP SDK installer from the download page.
Step 1.) Configure Asterisk
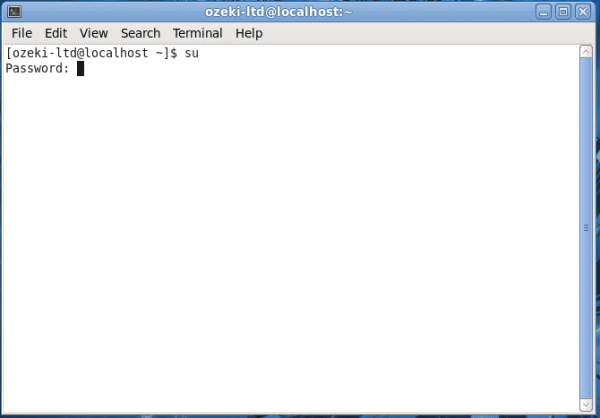
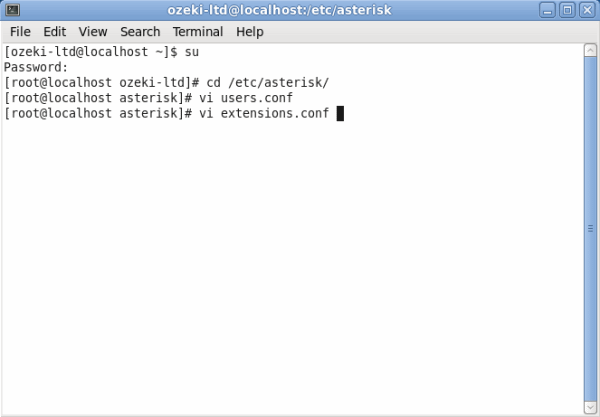
Start a terminal at the Linux server and login as superuser. For this, type su and login with the administrator password (Figure 2).
su
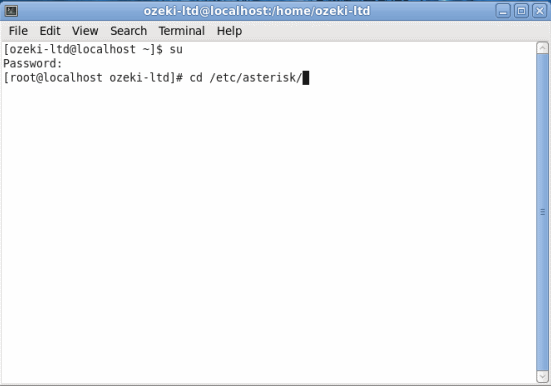
Then navigate to the config directory of Asterisk (Figure 3). In this example it is located in the etc directory.
cd /etc/asterisk/
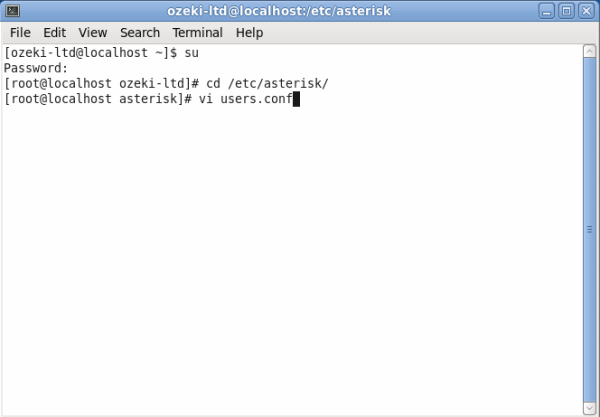
The users.conf contains the settings that clients can use to register to the PBX. Open this file with a plain text editor. In this example I use a built-in text editor: vi (Figure 4).
vi users.conf
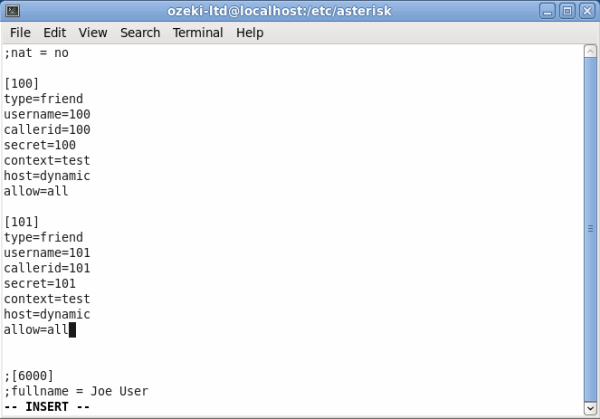
In this example I will register two users.
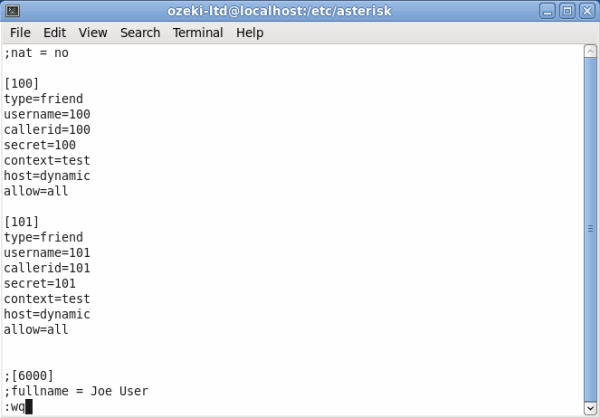
User 100 for a landline phone and user 101 for Ozeki VoIP SIP SDK (Figure 5).
For this, I insert the following lines into the config file:
[100]
type=friend
username=100
callerid=100
secret=100
context=test
host=dynamic
allow=all

[101]
type=friend
username=101
callerid=101
secret=101
context=test
host=dynamic
allow=all
Finally, quit insert mode by pressing Escape button and type: wq (Figure 6).
:wq
Next open extensions.conf file for editing (Figure 7).
vi extensions.conf
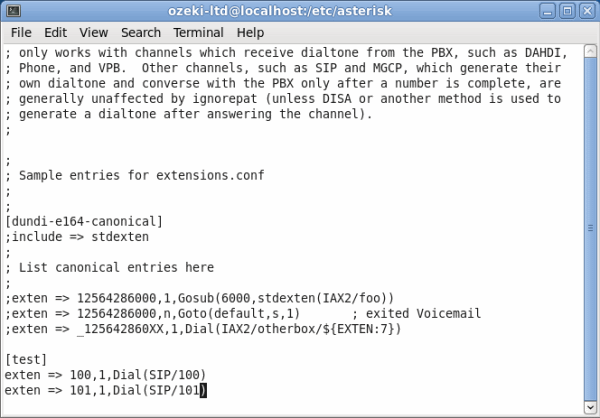
In extensions.conf file you can find the user's dial plans. Now
set the dial plan for the created user accounts (Figure 8).
In this example I will use the following dial plan:
[test]
exten => 100,1,Dial(SIP/100)
exten => 101,1,Dial(SIP/101)
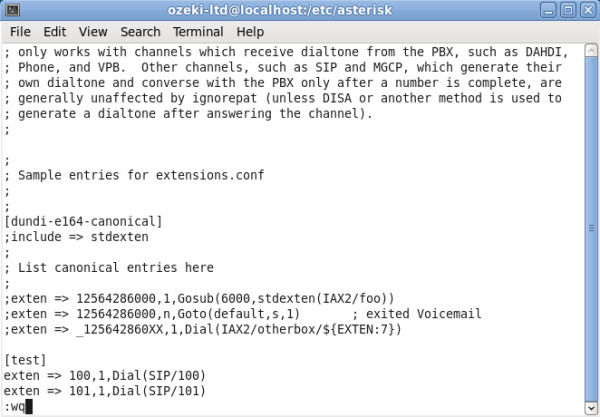
Insert the dial plan, save the file and exit (Figure 9).
:wq
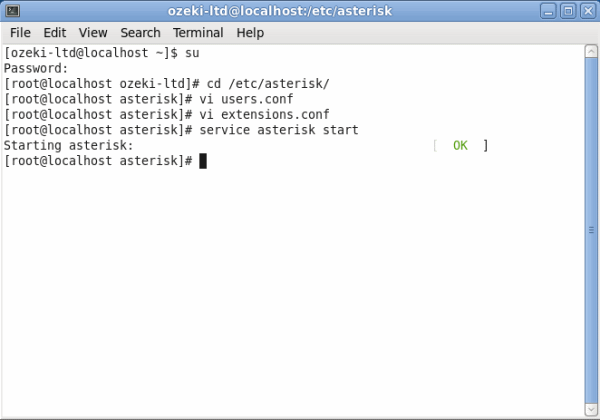
Start asterisk service by typing: service asterisk start. The service will start with the new configuration (Figure 10).
service asterisk start
Now the configuration of Asterisk is done, and you can configure Ozeki VoIP SIP SDK.
Step 2.) Configure Ozeki VoIP SIP SDK
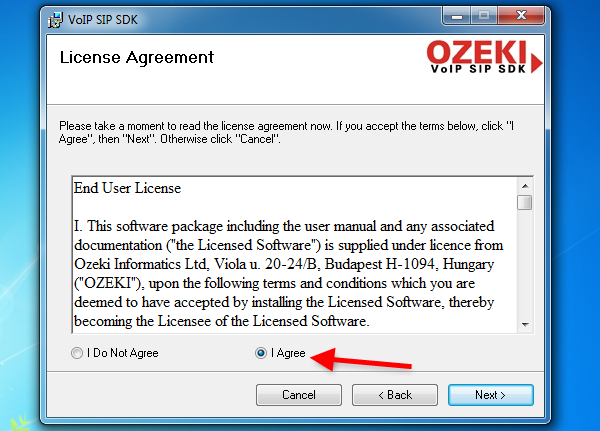
In this example, I have already downloaded the Ozeki VoIP SIP SDK installer into my PC from the download page. Open the downloaded package and execute the installer. Accept the License Agreement and click on Next (Figure 11).
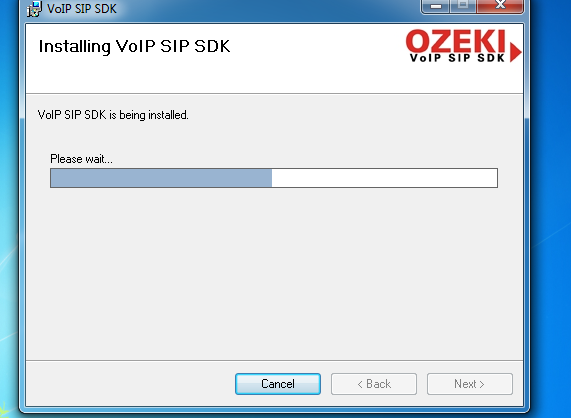
Wait until your Ozeki VoIP SIP SDK is installed (Figure 12).
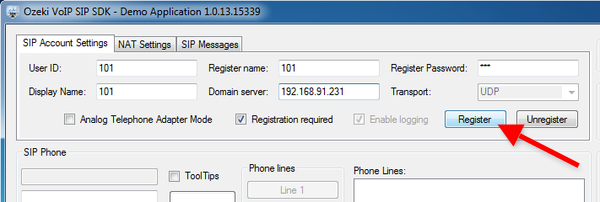
After installation, Ozeki VoIP SIP SDK Demo Application will be started automatically. To provide your Asterisk extension details in the Demo Application, fill the SIP Account Settings fields with the created extension data and click on Register. (Figure 13).
After registration, the registered phone line will be visible in the Phone Lines section. Enter a number using the keypad and click on Pick up (Figure 14).
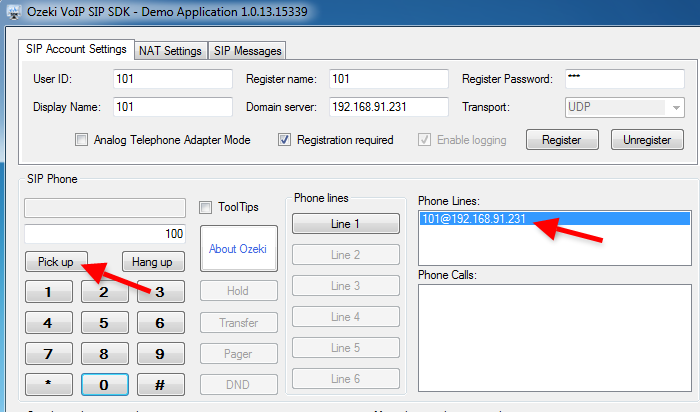
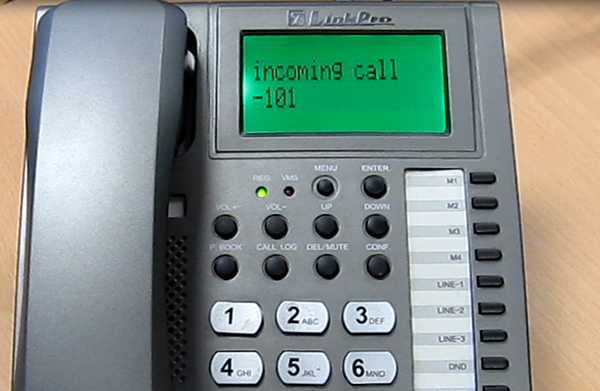
On Figure 15 you can see the Demo Application is calling the destination phone.
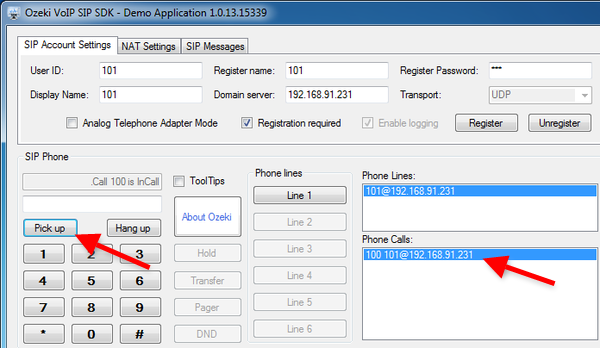
The active phone call is visible in the Phone Calls section (Figure 16).
Conclusion
Now the configuration is completed and the testing is successful. You are ready to start to build your application with VoIP support.
If you have any questions, do not hesitate to contact us: info@voip-sip-sdk.com
